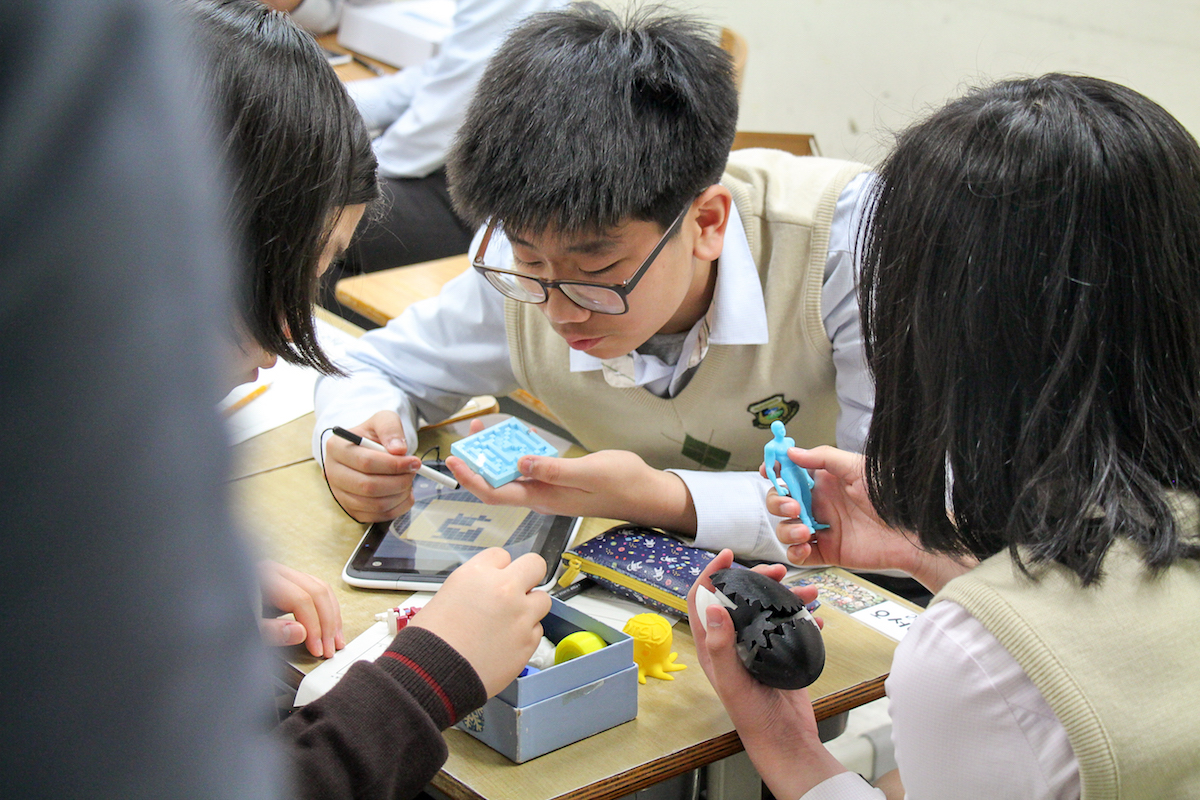
University research shows that makerspaces are a highly effective way to engage students in hands-on learning that teaches important problem solving and critical thinking skills. Macquarie University in Sydney conducted a 12-month research study into primary school makerspaces that used Makers Empire and concluded that makerspaces can be highly effective at developing children’s creativity, critical thinking, design thinking and digital skills.
The students observed in the university study were highly engaged with the 3D technology, and the idea of solving genuine design challenges – it helped boost their confidence and resilience when dealing with setbacks, particularly for those less capable students. In a different way, the research study showed that teachers became more comfortable with technology, and more collaborative and flexible in their teaching.
Over the years, we’ve learned a lot about primary and elementary school makerspaces via our relationships with our school customers. We’ve learned how to successfully set up a school makerspace and how to overhaul an existing one. By visiting hundreds of schools and interviewing hundreds of teachers, we’ve learned what works and what doesn’t.
So here are our top 12 tips for school teachers to consider when setting up your school makerspace.
1) Think beyond the equipment
Sometimes libraries and schools invest a 3D printer only to find the 3D printed underutilised and the results disappointing. Just as creating a home is not just about furnishing a house, creating a true Makerspace goes far beyond outfitting a room with equipment and tools. Computers and 3D printers are inert tools – it’s expertise, training and community that makes a Makerspace successful. Learn how one American teacher turned her school’s unused 3D printer into a valuable teaching tool.
2) Align with teaching goals
Will you use your makerspace to cover required Design & Technology curriculum? Will it be a small room to tutor individual students or a bigger one to teach full classes of students? Will your makerspace also be a combined Learning Room or perhaps a STEM-focused room? Your teaching goals will significantly impact on your space, tools and equipment requirements. Make sure you are clear on these before purchasing tools and equipment. See one American’s teacher’s frank and engaging account of his 3D printing journey in this great guest post, So You Have a 3D Printer – Now What?
3) Do your research
While the internet makes researching Makerspaces from your desk a breeze, we recommend that you get out there and visit some nearby Makerspaces. Check out community workshops such as Fab Lab or Hackerspace. How do their Makerspaces make you feel? What equipment do they use? How many people can they accommodate at once? What have they done well and what could be improved? Talk to the people running the Makerspace and ask them if they have any helpful suggestions – we’ve found that people who make things are usually very happy to share their tips and expertise. Learn how an Australian school introduced 3D printing into their makerspace.
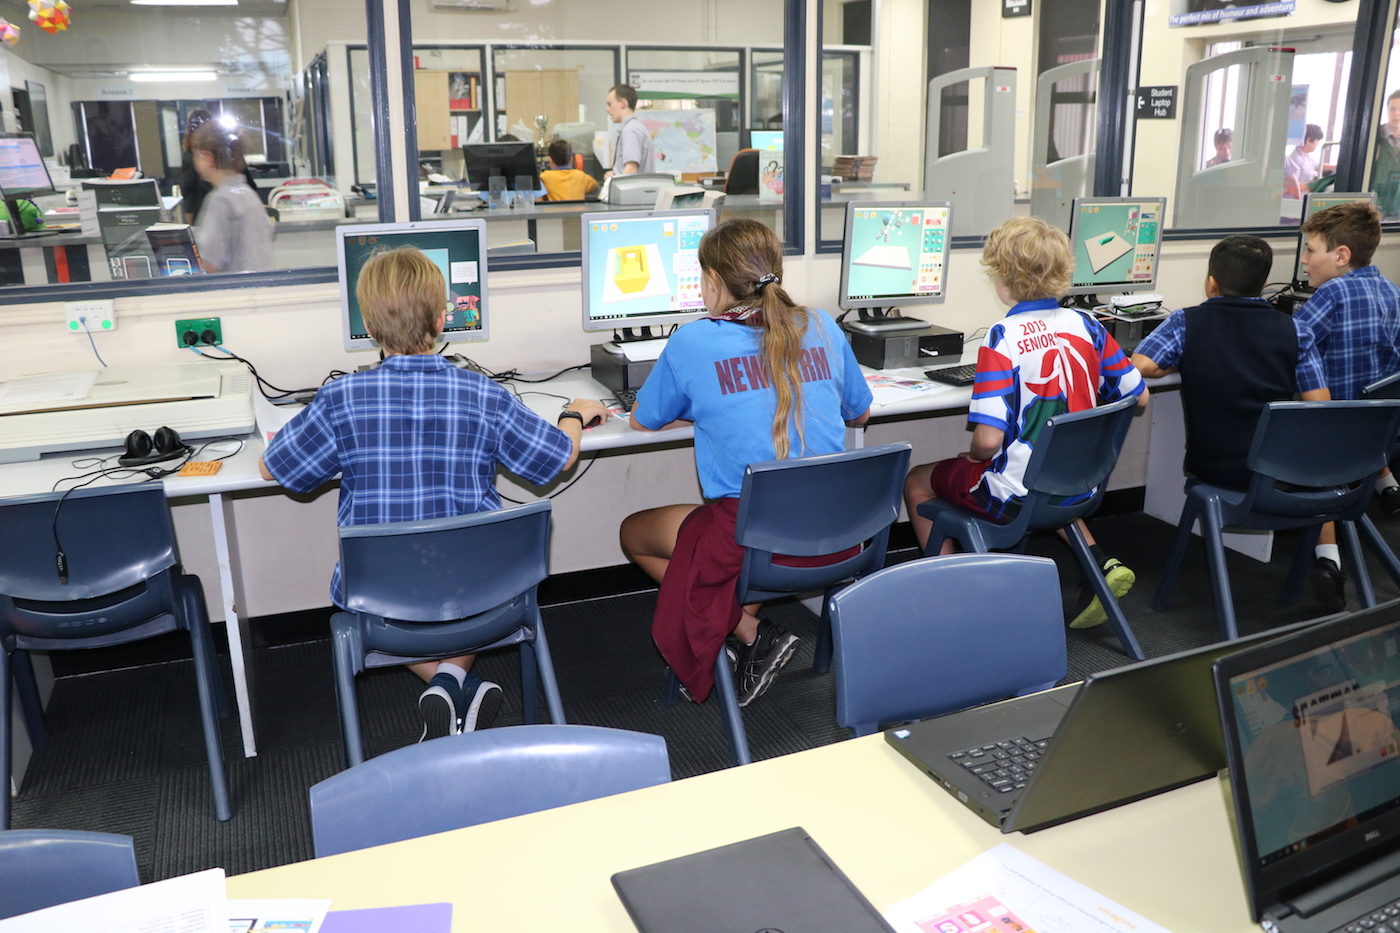
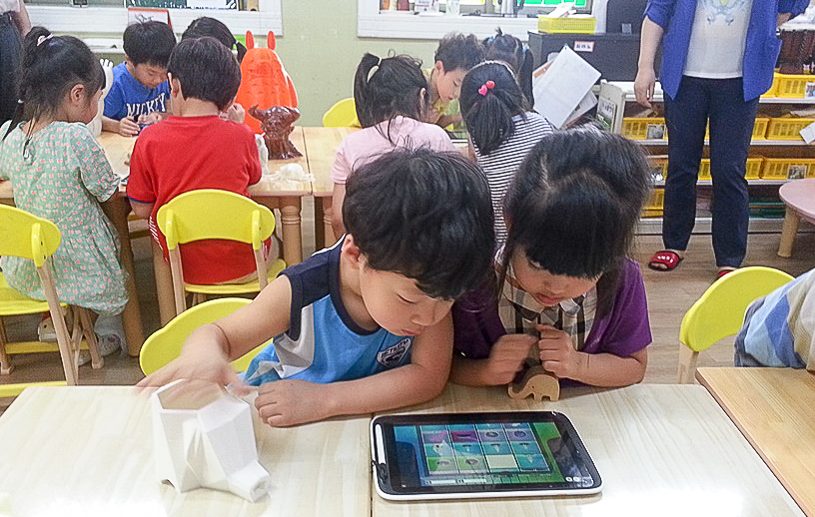
4) Ensure age-appropriateness
When outfitting your Makerspace think about the age ranges of students at your school and what tools and equipment are within their capabilities. While students can surprise you by their rapid progress, and you want tools that allow them to learn and grow, tools that are prohibitively complicated for beginners will be frustrating to use. Make sure that the tools you use are designed for younger students. Makers Empire’s 3D design software is the only 3D design software created for K-6 students.
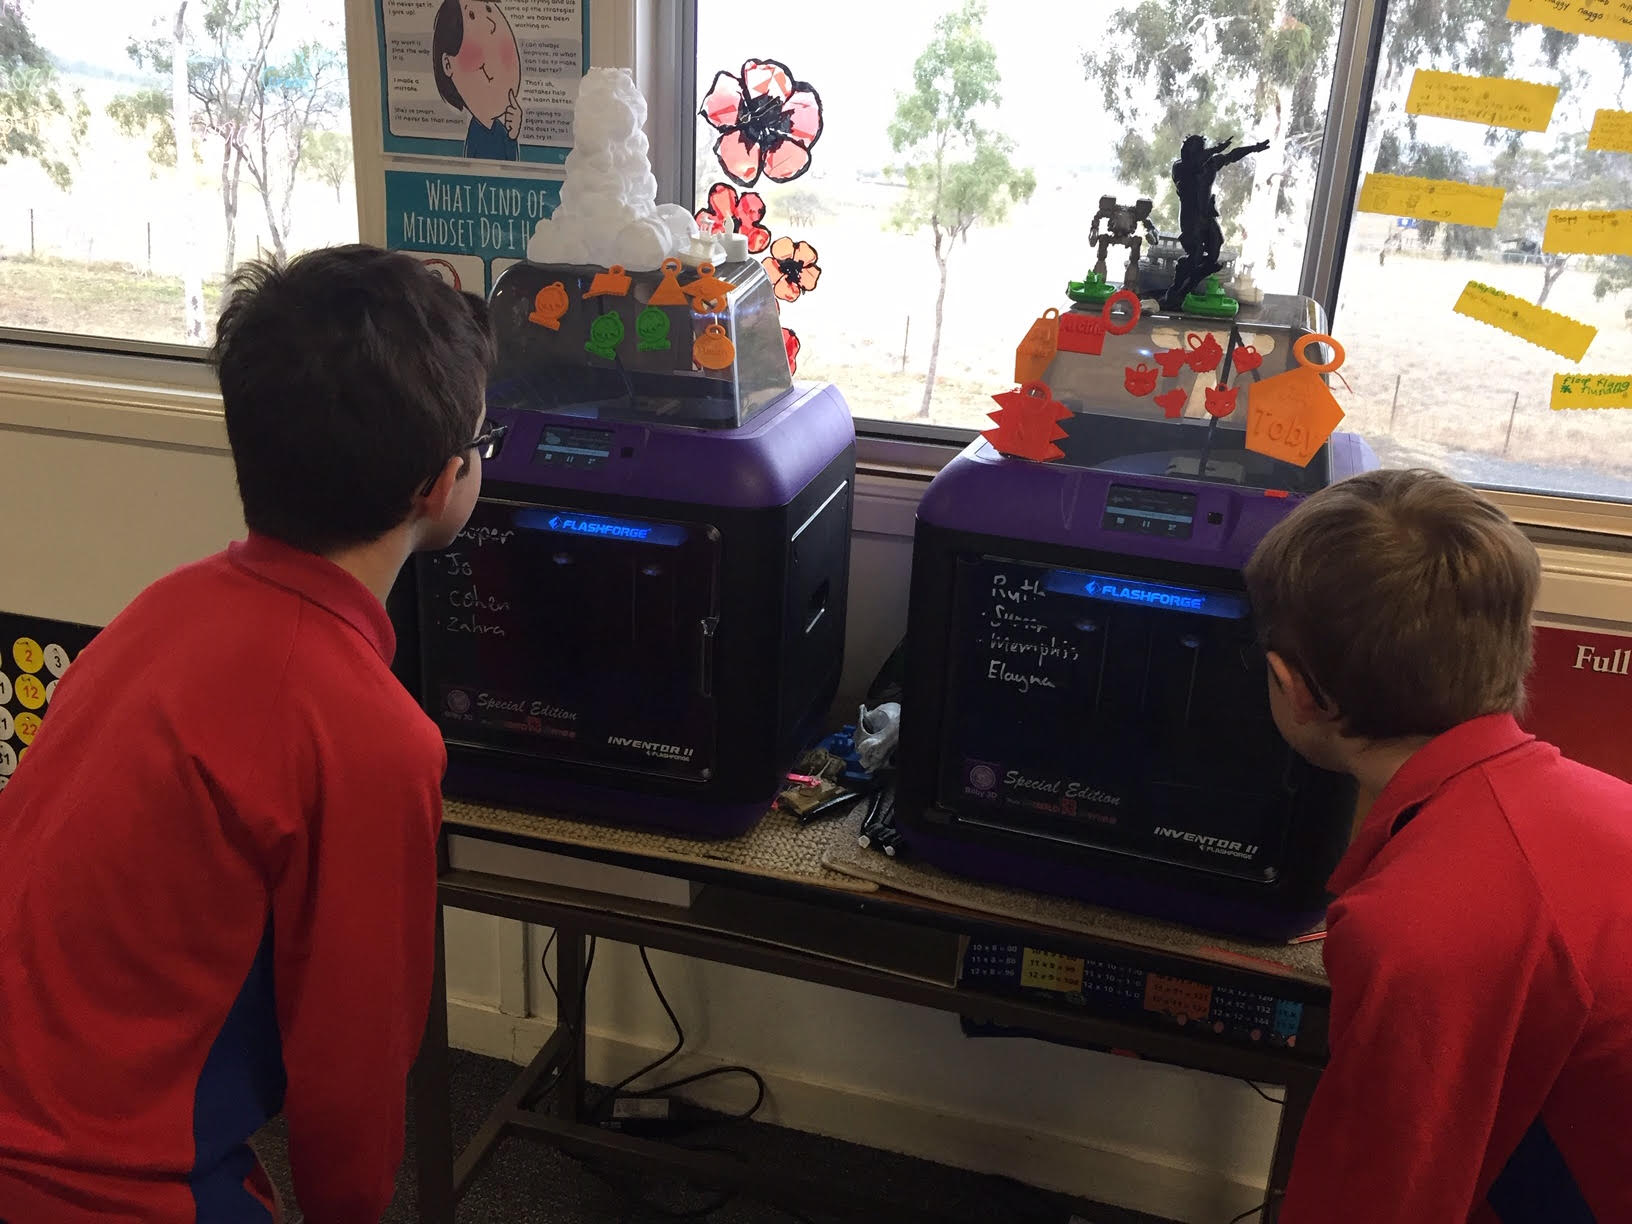
5) Plan your space thoughtfully
A general starter list would include:
We like Makerspaces with lots of natural (sun) light and windows that can be opened. Some 3D printers have HEPA filters that minimise the odour generated when printing but many do not so we always recommend you use them in a well-ventilated room. Learn more about health and safety considerations for school makerspaces.
We highly recommend investing in professional development around 3D printing, 3D design and design thinking for teachers to ensure that they have the skills and knowledge to make your Makerspace a success. Makers Empire’s products for schools come with accredited professional development, training, lesson plans and more. We also recommend having one teacher in charge of the Makerspace. He or she can then be responsible for coordinating usage by other teachers, restocking filament and other supplies, and assisting teachers with any troubleshooting.
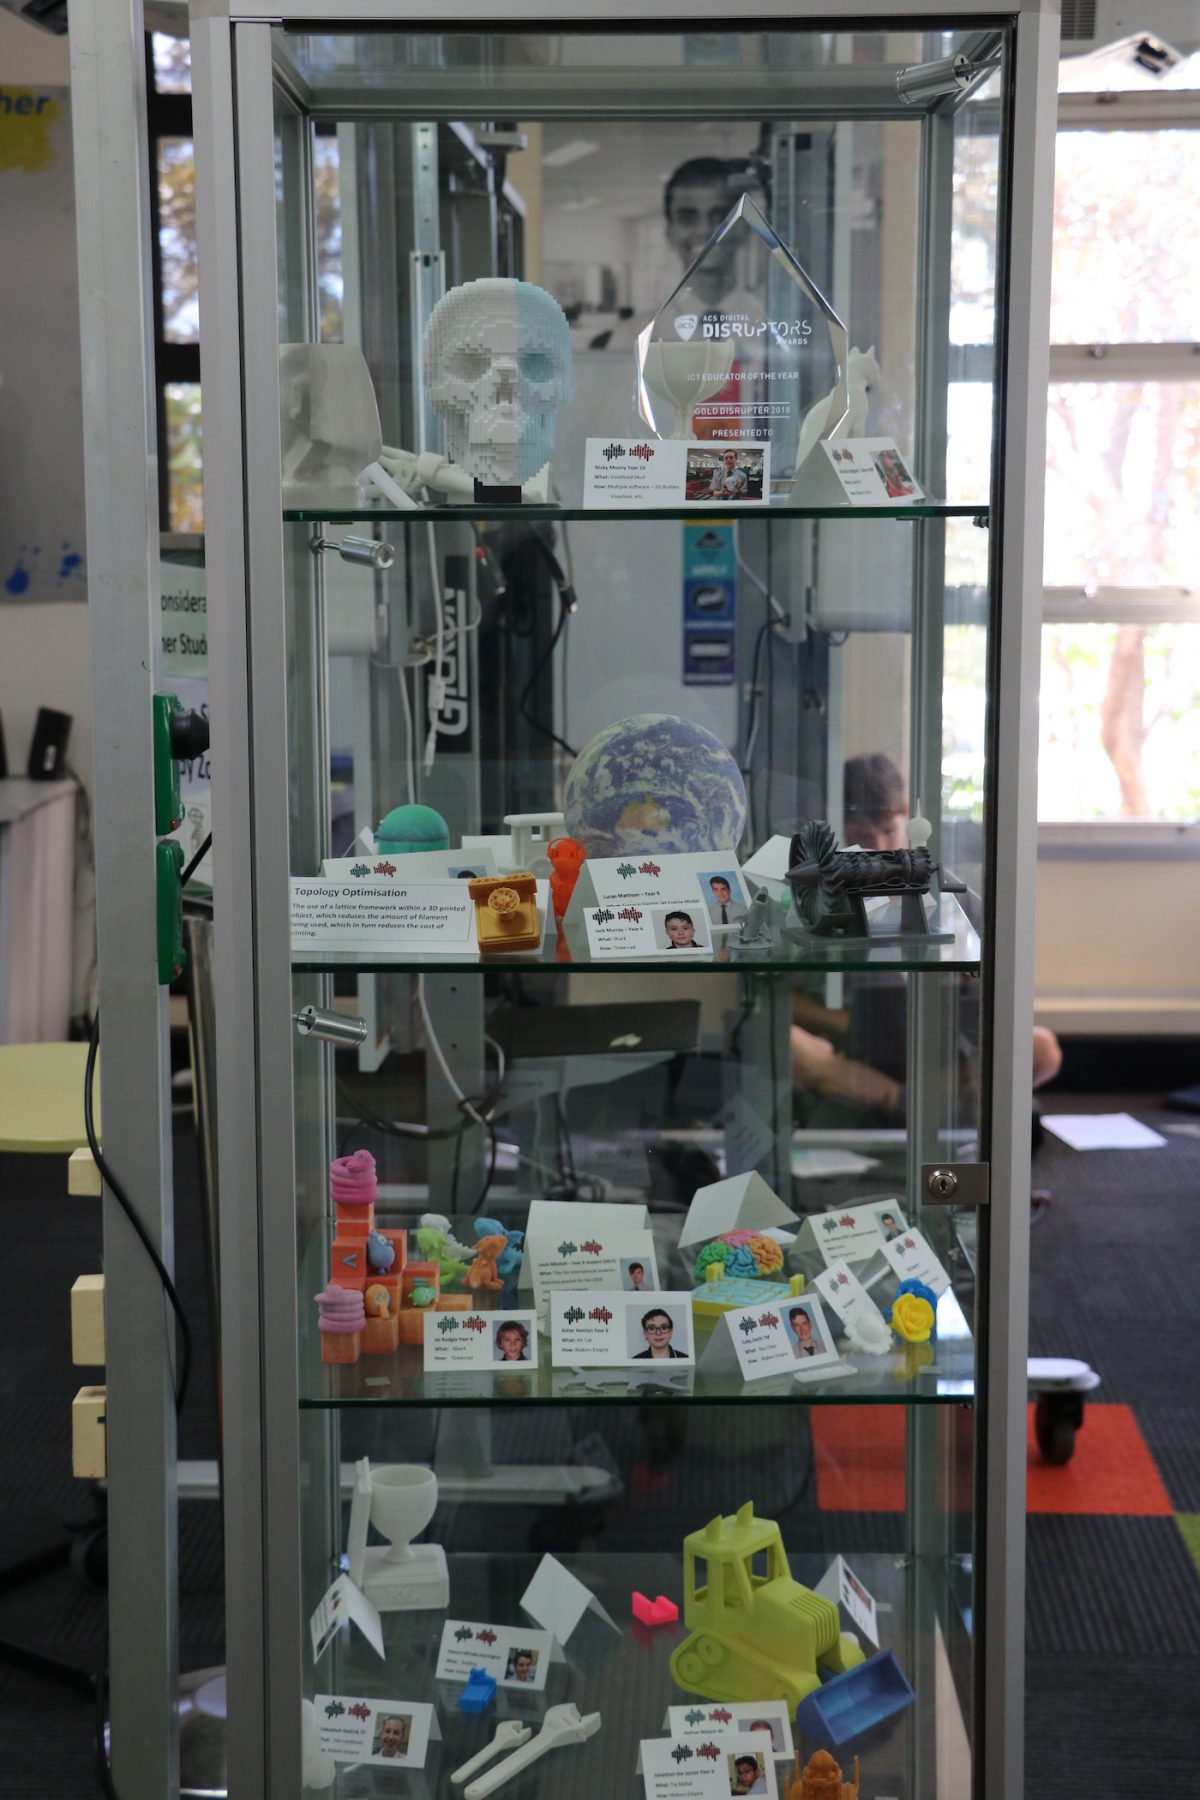
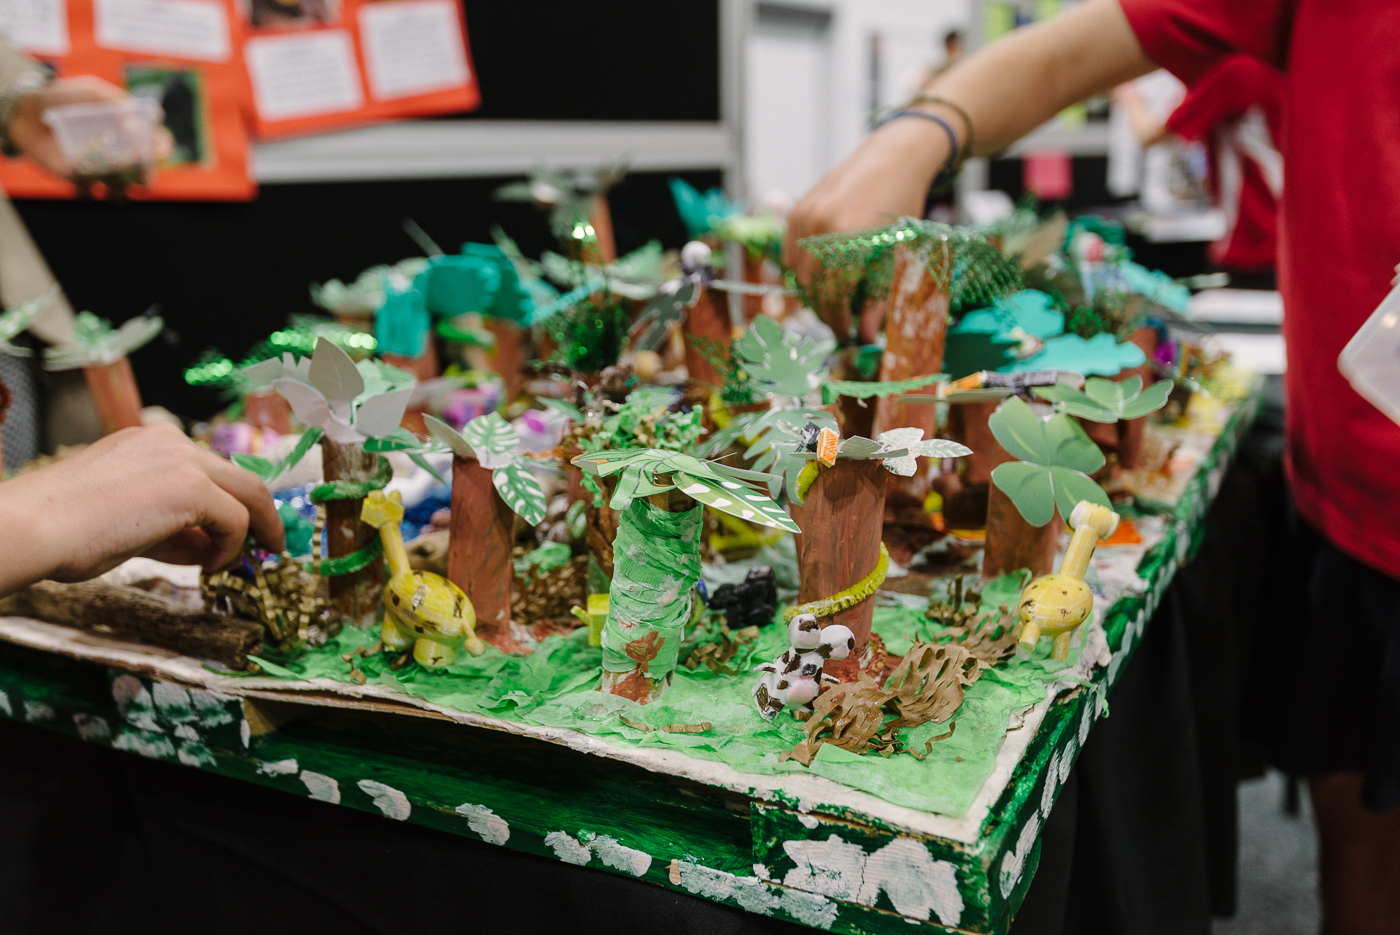
Makerspaces are all about creative collaboration and problem-solving. So there are infinite ways to use your Makerspace to enhance or develop relationships within your school community. We love these great lesson ideas created by teachers within the Makers Empire global community.
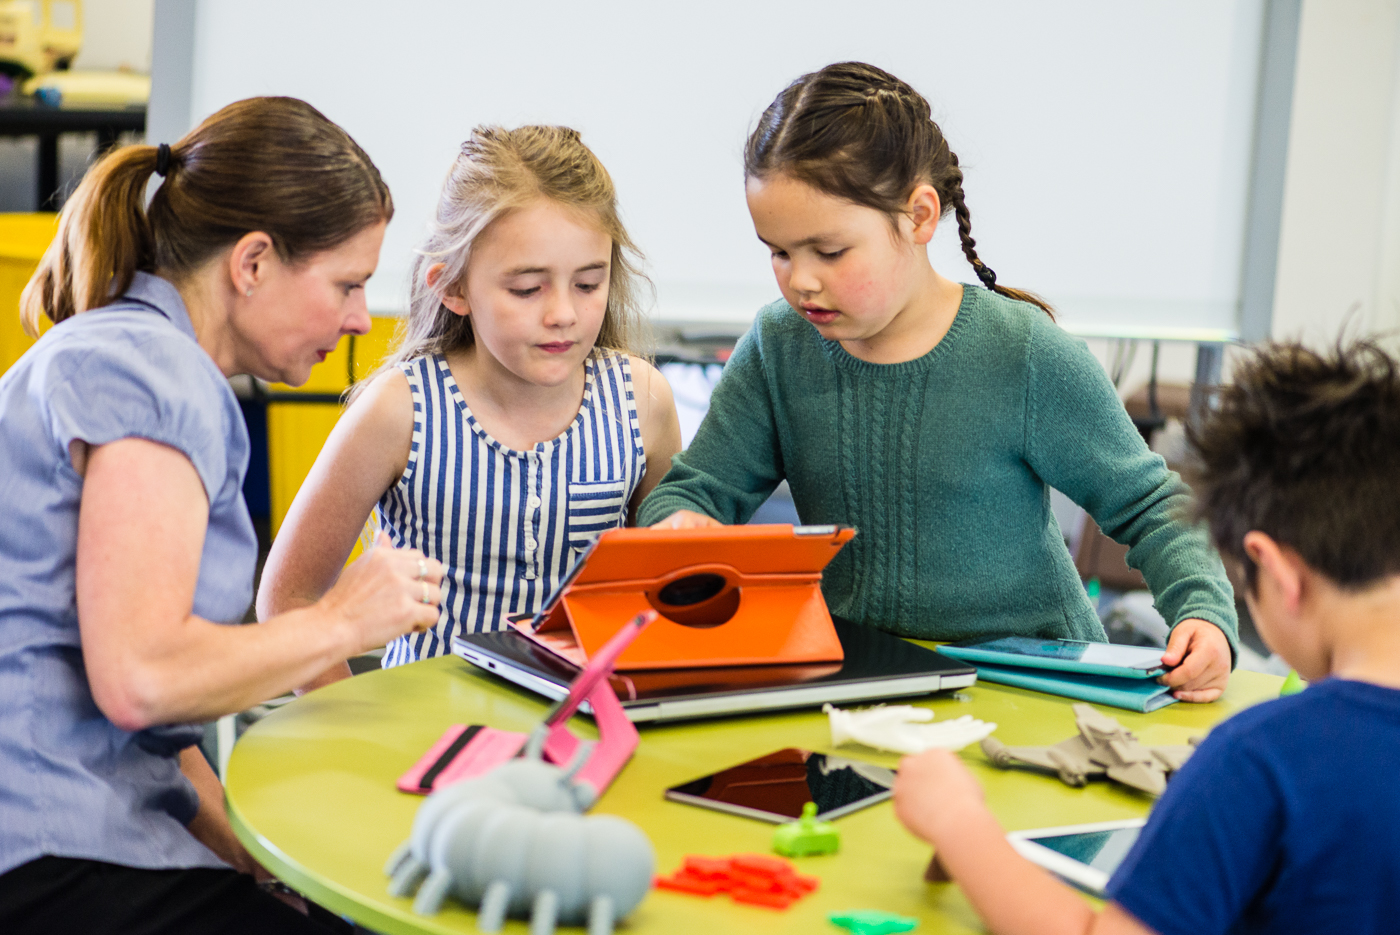
Team up older students with younger ones to enhance learning and deepen engagement. The older students usually enjoy the opportunity to help the younger ones, while the younger ones love being ‘mentored’ by the older students. See this inspiring real-life example of Australian school students buddying up for improved learning outcomes.
Find a local person or company with a problem that needs solving. Have students design a solution to that problem and then present their ideas to their person or company. Students will love solving a real-life problem and helping others. See this real-life example of Australian school students making a clip to help their teacher’s toddler, who has cerebral palsy or this example of Canadian school students who helped people with disabilities via 3D design and 3D printing.
Having parents experience a makerspace activity is a wonderful way to encourage them to become more involved in their children’s learning. So why not schedule a makerspace activity for your annual school open day or parent-teacher night? Invite parents to take part in an activity where they create a design with their child. See this real-life example at an Australian school.
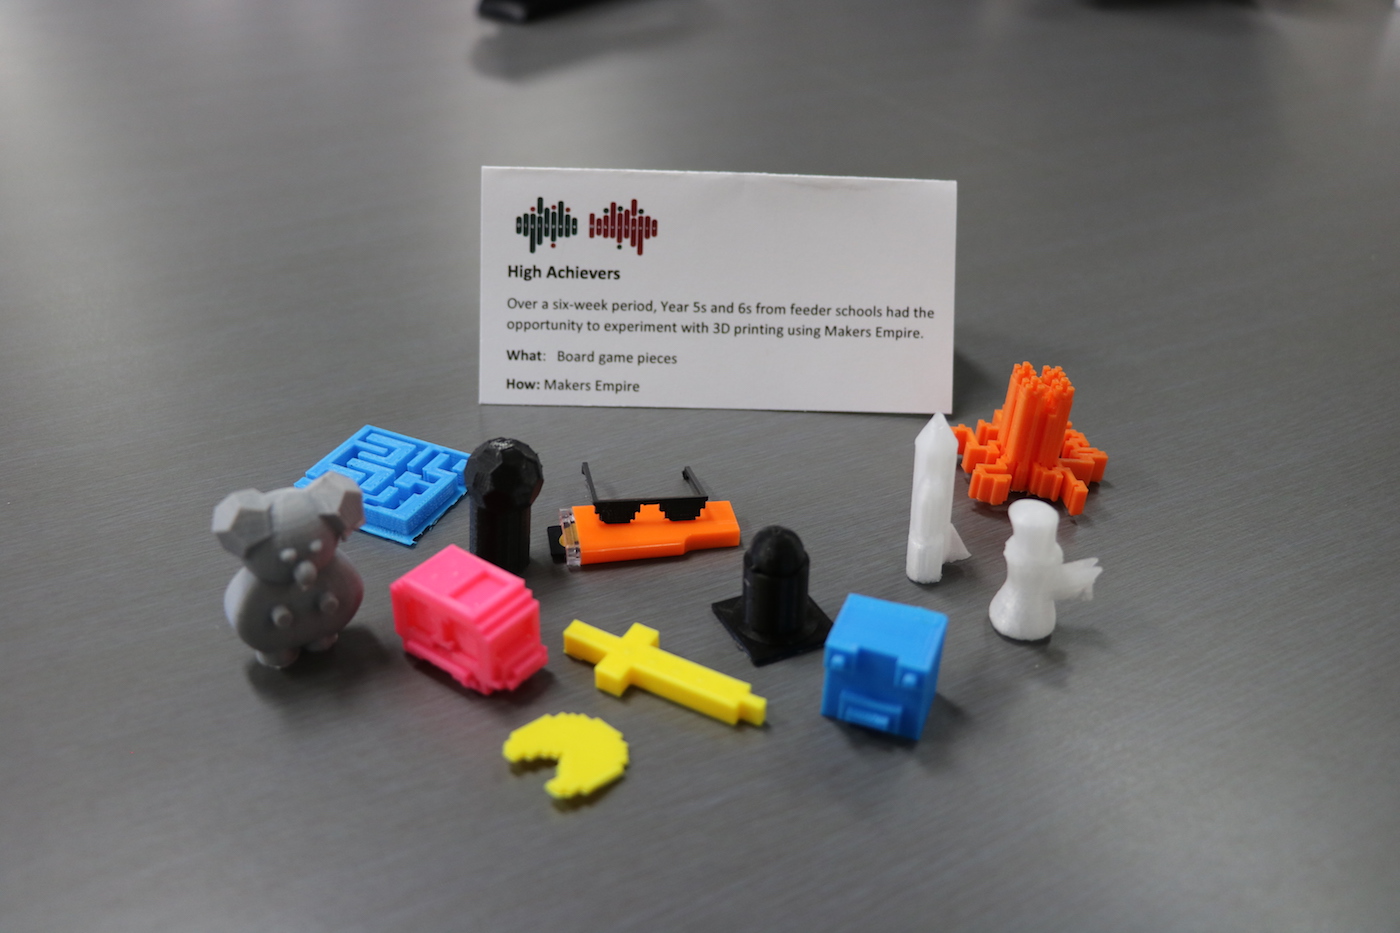
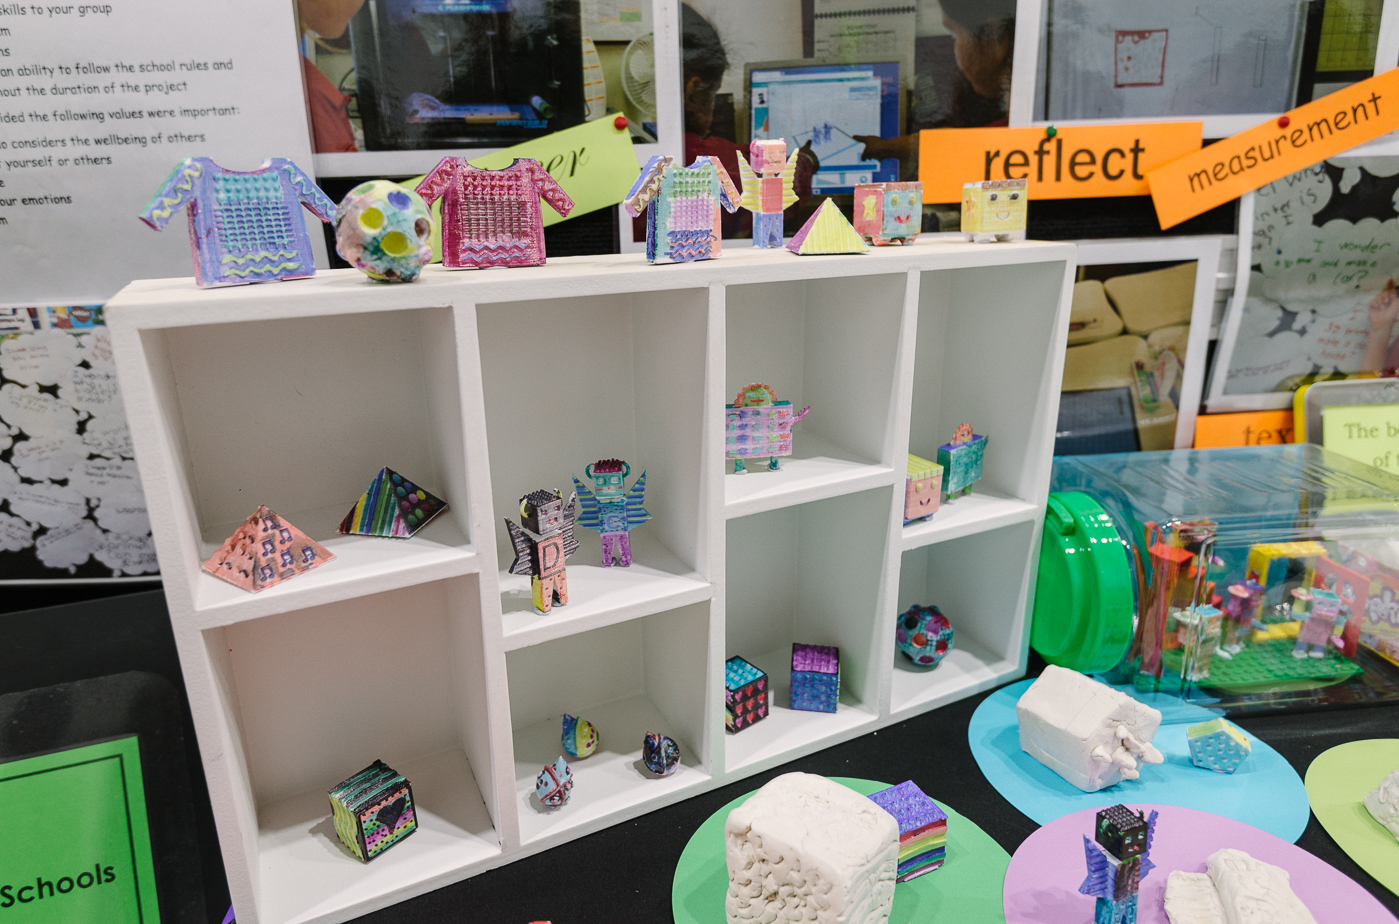
Your whole school community can contribute to a school sculpture created using 3D design and printing. See this real-life example of an Australian school, which created a commemorative sculpture that everyone in the school community contributed to.
As you can see, creating a successful makerspace at your school requires some thought and planning. But once you’re set up, you’ll be thrilled by the learning outcomes that can be achieved by students in a well resourced and well-run space.

Please wait while you are redirected to the right page...