This guest post was written by Christopher Burdman, a grade 3-5 STEM teacher at Joseph P Tyan Elementary School in Boston and Makers Empire Ambassador. Here he shares a frank and engaging account of his 3D printing journey, through unexpected windfalls, false starts, new beginnings and eventual success. This is a must-read for any teacher or educator wanting to use 3D design and 3D printing in the classroom as a truly effective, cross-curricula teaching tool.
[su_divider top=”no” divider_color=”#dfdfdf” margin=”30″]
Having a 3D printer in your classroom or school seems like a good idea. After all the possibilities are endless, only limited by the imagination and creativity of the students. I imagined a makerspace where cutting edge designs were being made and world(or school) problems were being rectified. I envisioned students prototyping and revising with enthusiasm. What better tool could there be in a child’s STEM education?
As an 18-year veteran in the Boston Public Schools district, I believed I was up for the challenge. Like me, I’m sure many of you reading may have found yourselves in the same situation: you’ve got a 3D printer, now what? The following is a brief glimpse into my 3D printing journey as an educator at an urban elementary school.
An Unexpected Windfall
The journey began in the Spring of 2015, coming off of our first, very successful school wide Hour of Code event. In recognition of our students’ achievements in the area of coding, we were awarded $10,000 from Code.org. This money gave us a one-time opportunity to fund a STEM program. In a time of budget cuts and downsizing, we knew we had to spend wisely as we were unlikely to ever have a pot of money like this again.
After some discussion and research, we decided that our next big challenge would be to enter the realm of Lego Robotics and 3D printing. Each of these would give us easy access to the teaching the design process, which encompasses a wide range of standards that spans all grade levels.
My First 3D Printer
In hindsight, I didn’t spend enough time researching 3D printers. At the time, I thought all printers were basically the same – they just varied in the way they looked.
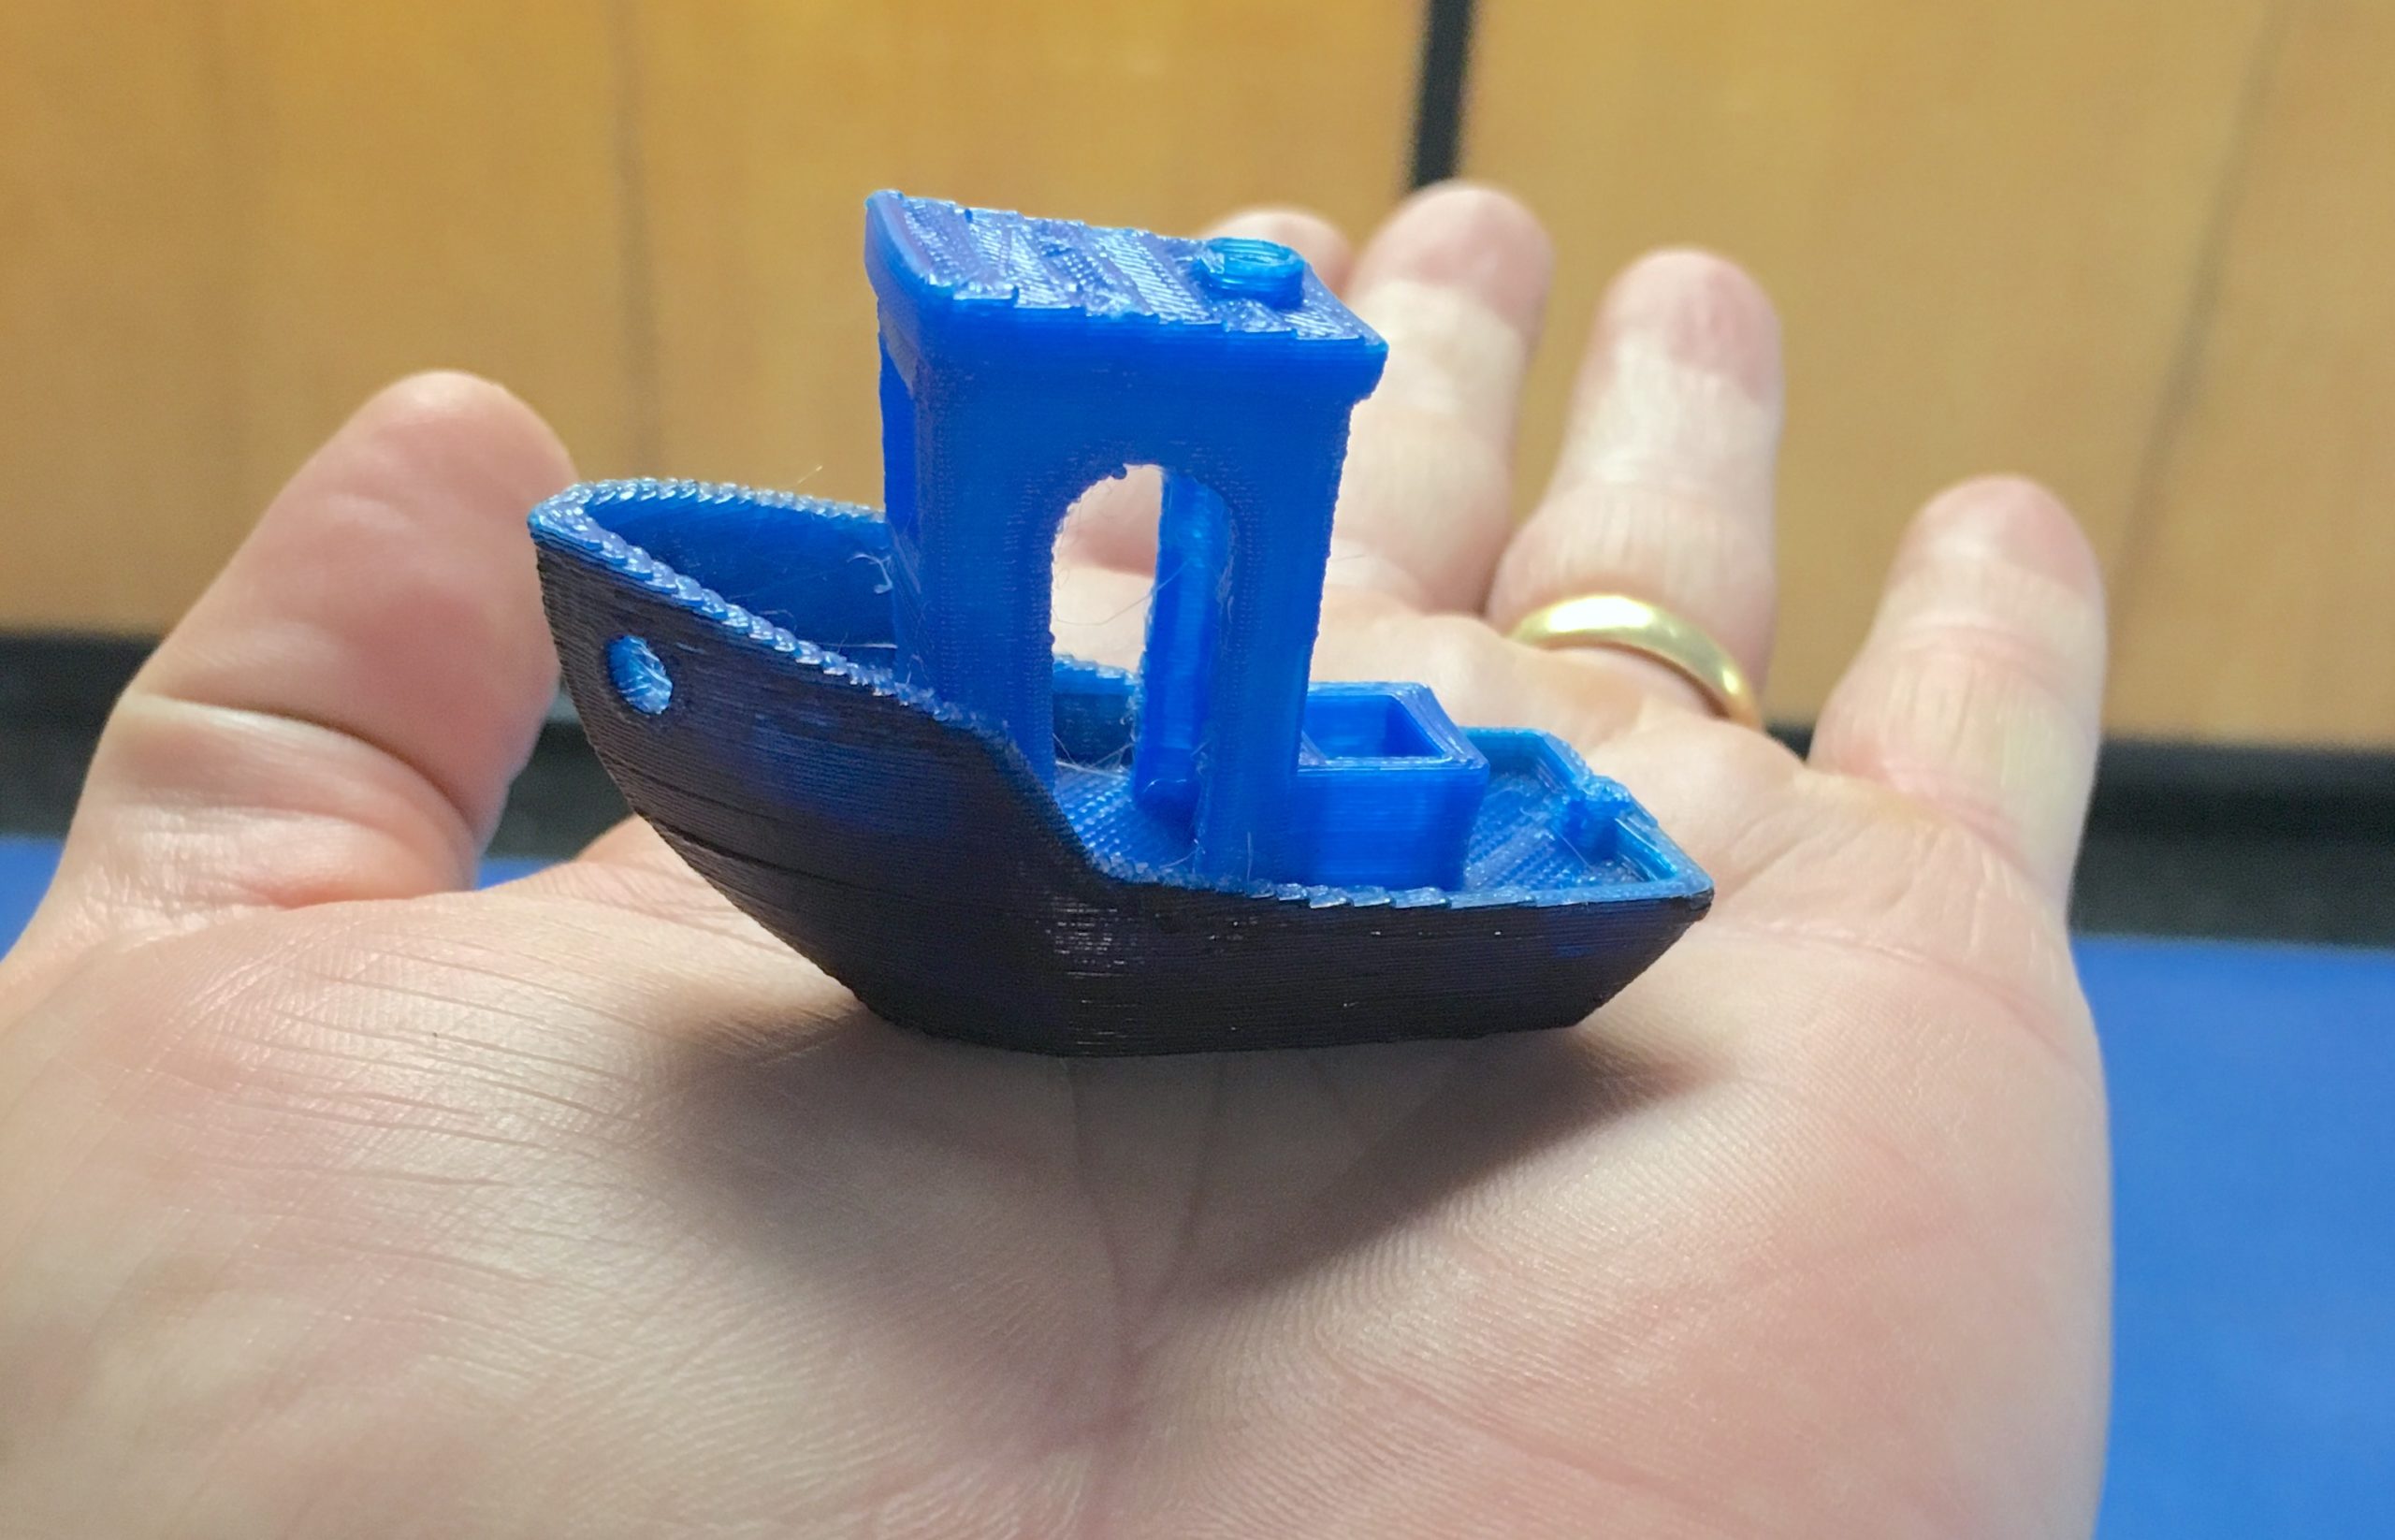
I had heard of Makerbot printers so chose a Makerbot 3D printer due to its popularity in other elementary schools. When our Makerbot 3D printer arrived it was gorgeous. Sleek and sexy and a great addition to the classroom. I immediately logged into Thingiverse and picked out the very first print, my very own Benchy. The print was flawless and I was excited for the next.
The First Prints
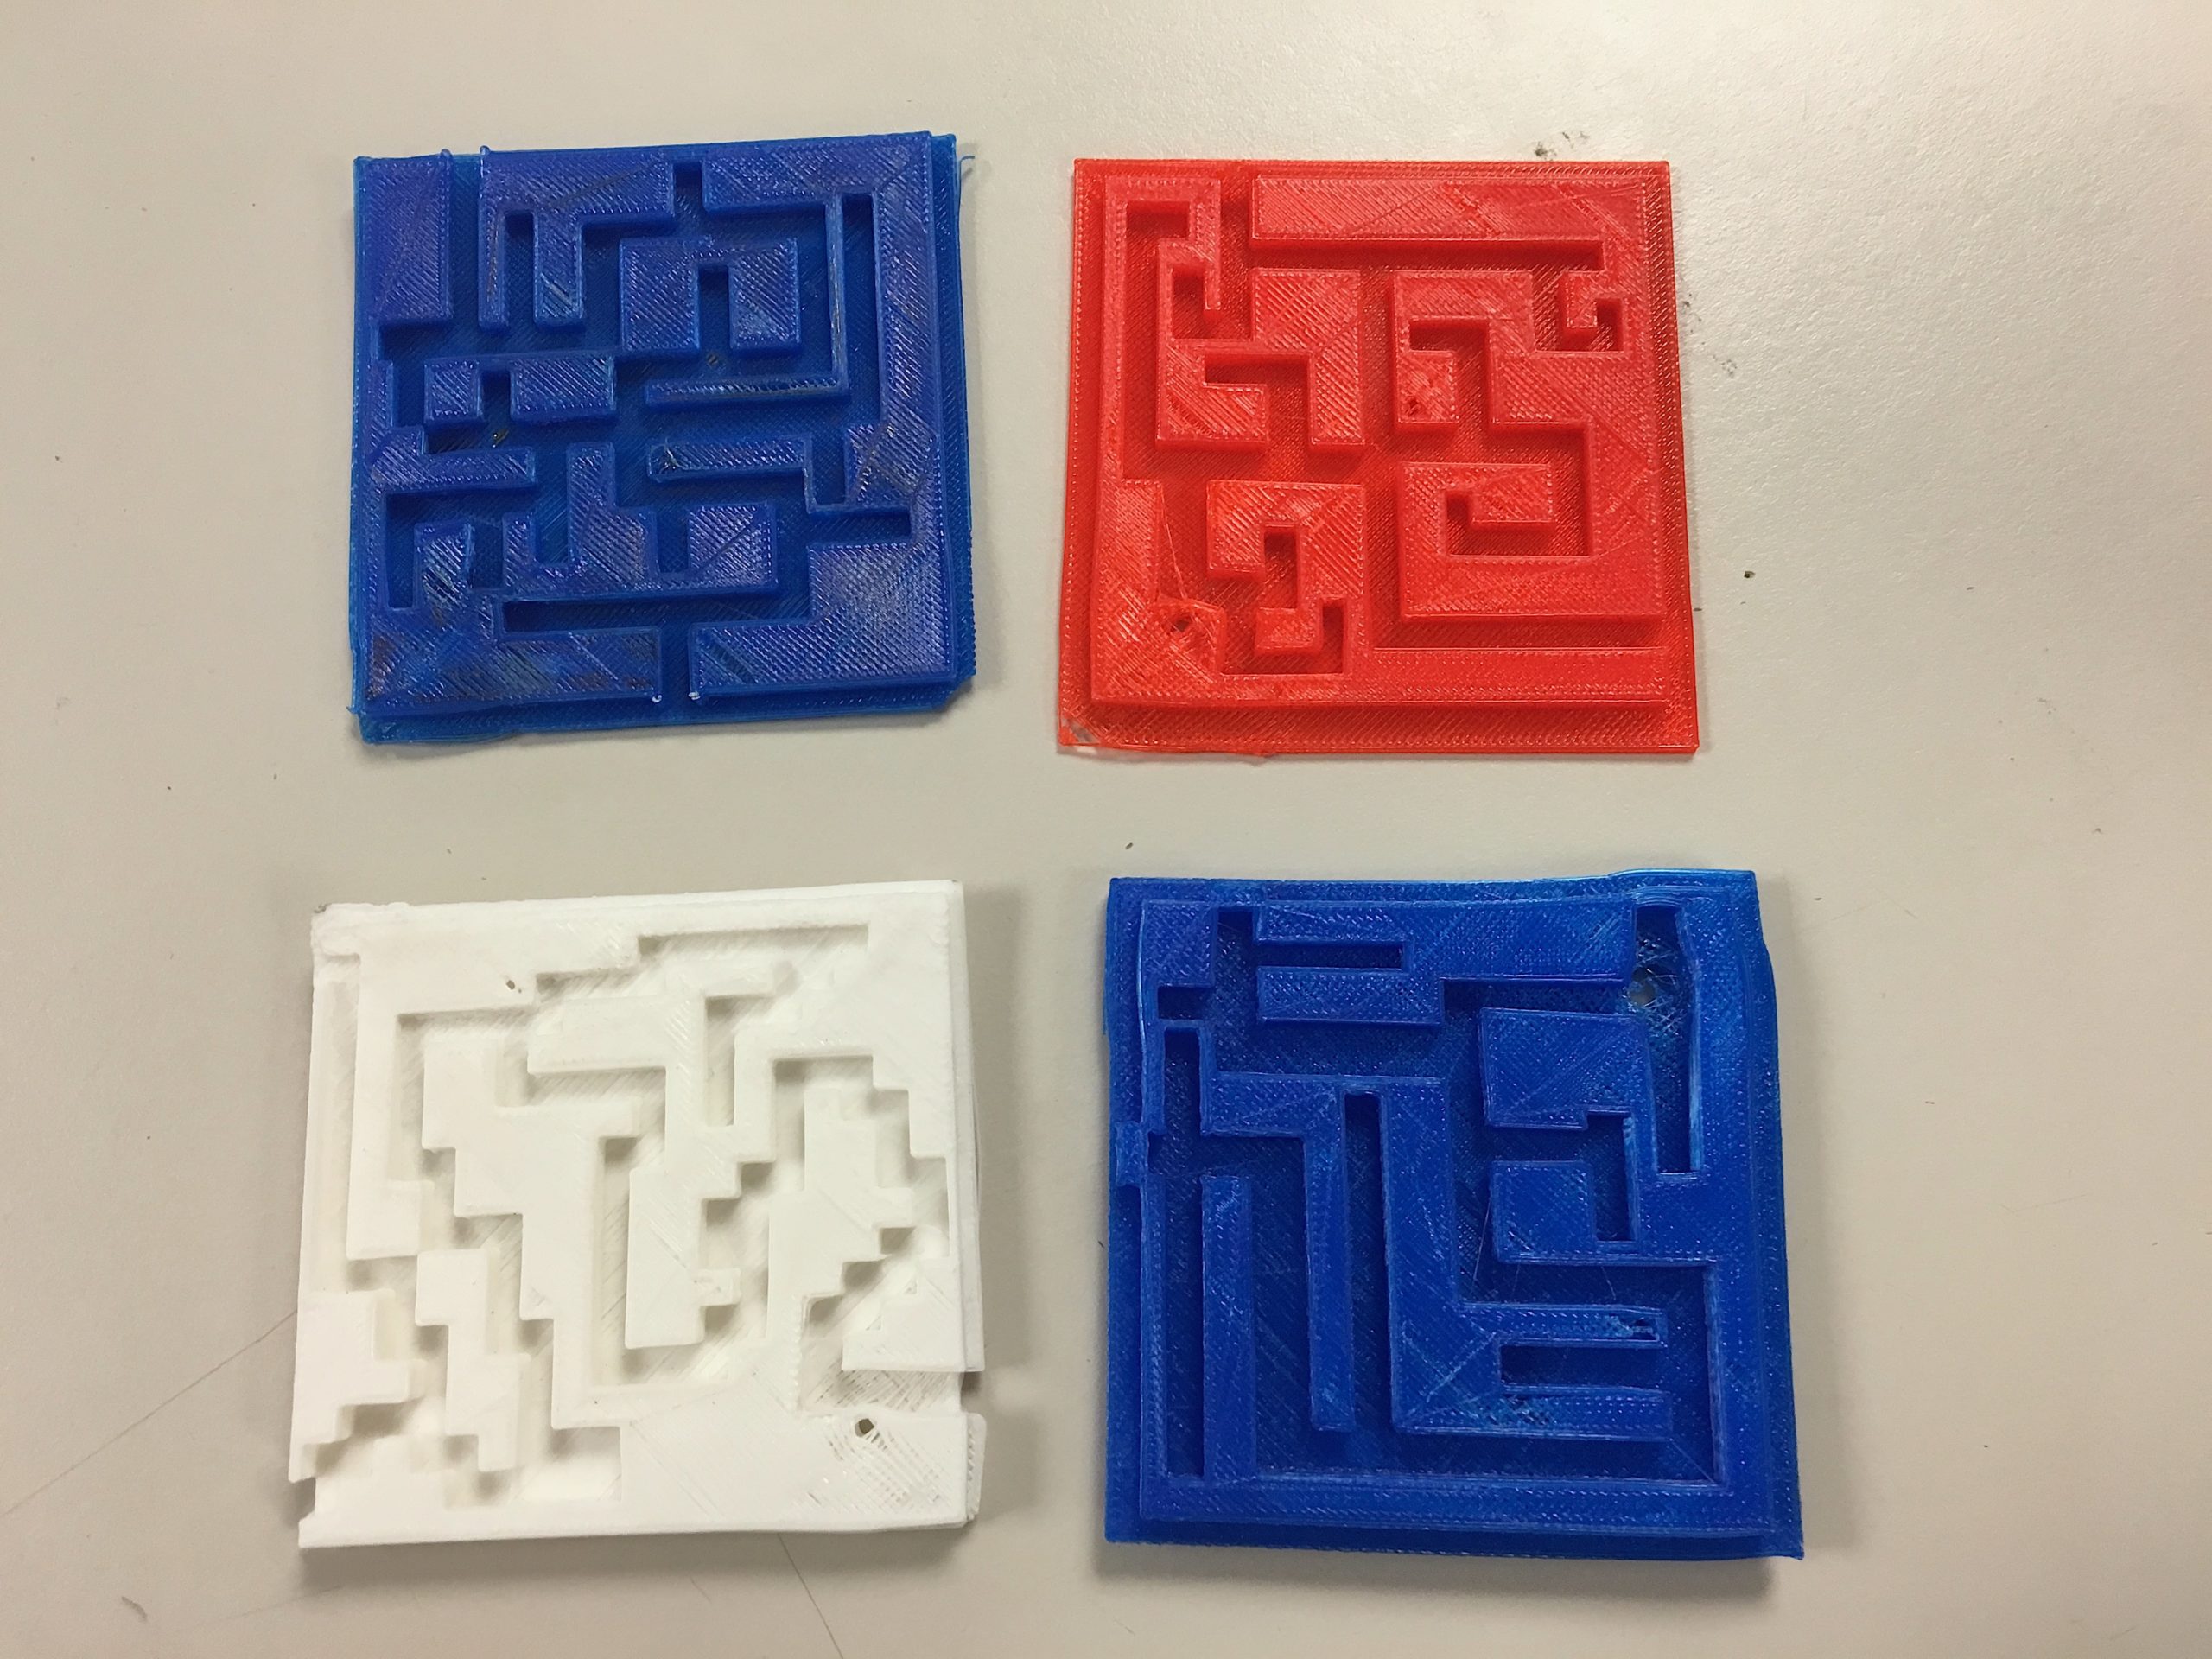
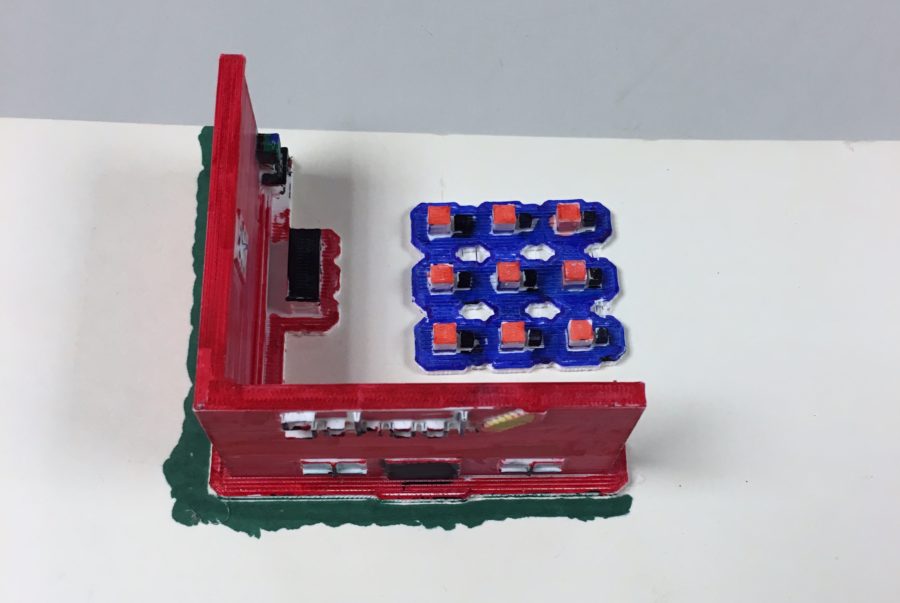
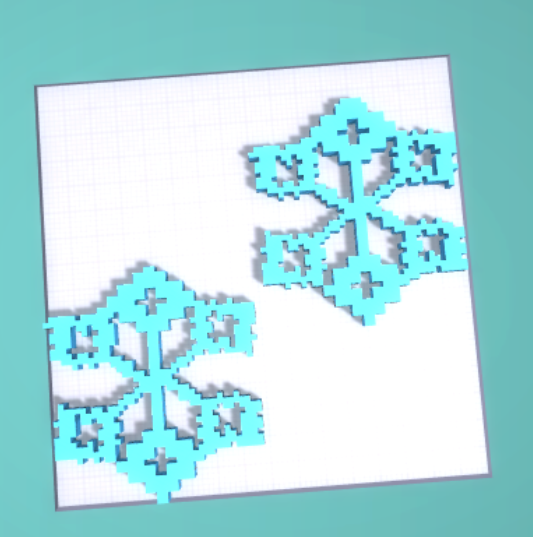
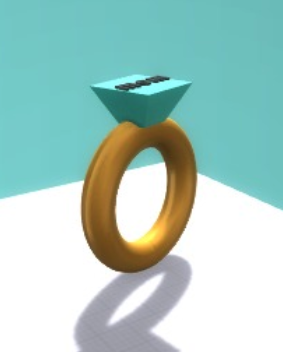
My students and I picked several things to test print and it was fun watching something be created out of thin air. We printed fish that flexed, Minecraft skeletons, and STEM pendants.
One of my students approached me and asked if he could make cell phone case. My initial response was, “sure, go ahead” but his followup question that floored me: could I help him make it?
[su_quote cite=”Christopher Burdman, Tynan Elementary School, Boston”]It was at this moment that I realized I had no idea what I was doing. Sure, I could hit print on the computer, and have some really cool things appear, but I had no understanding of how to design something.[/su_quote]
An Unused, Shiny New Toy
Things stalled at this point in my 3D printing journey. For the rest of the school year and much of the 2016/2017 school year the 3D printer went unused.
I imagine this part of my story is similar to that of many educators. I got enticed by a shiny new toy, one that I thought would somehow miraculously make my STEM classroom complete. But the truth is that my Makerbot printer sat in the classroom like a trophy upon a shelf. It was a great topic of conversation but no real use.
Starting Again with The GE Additive Program
Fast forward to the Spring of 2017. GE had introduced the GE Additive for Education Grant and with it offered two printers and curriculum. This rejuvenated my interest in 3D printing for me and my students. I set up my new printers — I now had three trophies on my shelf — and once again things stalled, literally, this time. The inevitable happened – my first filament jam.
I like to fancy myself as someone who is modestly handy so I didn’t panic. I got a pin and started poking any hole I could find on the machine. When that didn’t work I moved to a paperclip and continued my poking. I was finally able to fix the jam using my most trusted resource, YouTube. As many of you know at this point there is a Youtube video that explain how to fix or build anything you could imagine.
This was an important moment for me though because while searching how to fix the jam I came upon several websites, blogs and groups that ultimately changed the way I looked at 3D printing. One thing I read that really resonated with me was how one teacher’s classroom rule was: “if you didn’t make it, I’m not printing it”. This sounded very reasonable to me and I adopted it as my mantra.
Designing With TinkerCad
We first began designing using Tinkercad, a terrific CAD program and widely accepted by schools. Some of my older students were able to grasp the mechanics of designing things but that’s all it was, designing things.
[su_quote cite=”Christopher Burdman, Tynan Elementary School, Boston”]It had no connection to what we were learning and studying in school. It was isolated and, to be honest probably more trouble than it was worth. I hadn’t found a way to connect this great tool to the needs of my students.[/su_quote]
I decided that I was going to take a more narrow focus on 3D design and teach the Tinkering with Turbine STEAMtrax curriculum that came with the GE grant.
Discovering Makers Empire
I had been searching the blogs and chat groups looking for resources to teach the curriculum when I discovered the Makers Empire software. Makers Empire had a similar curriculum topic called “The Windy City”, which at first glance seemed a bit more appropriate for my students. Clicking on their website and watching a few tutorials I immediately could tell I had found something special.
There was something simplistic to Makers Empire’s approach of complex design. The website offered video tutorials, downloadable resources, and an iPad friendly interface. The more I searched the Makers Empire website the more excited I got about once again introducing my students to the concept of 3D printing.
Like all good teachers, I spent the next few weeks learning the ins and outs of the software because if I was going to teach it I felt that I needed to be the expert in it.
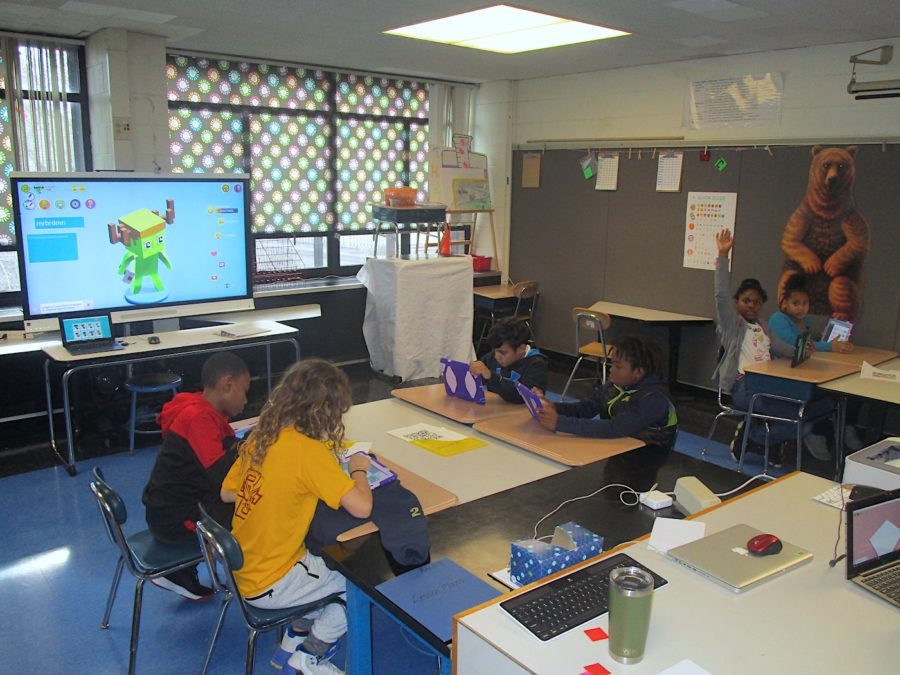

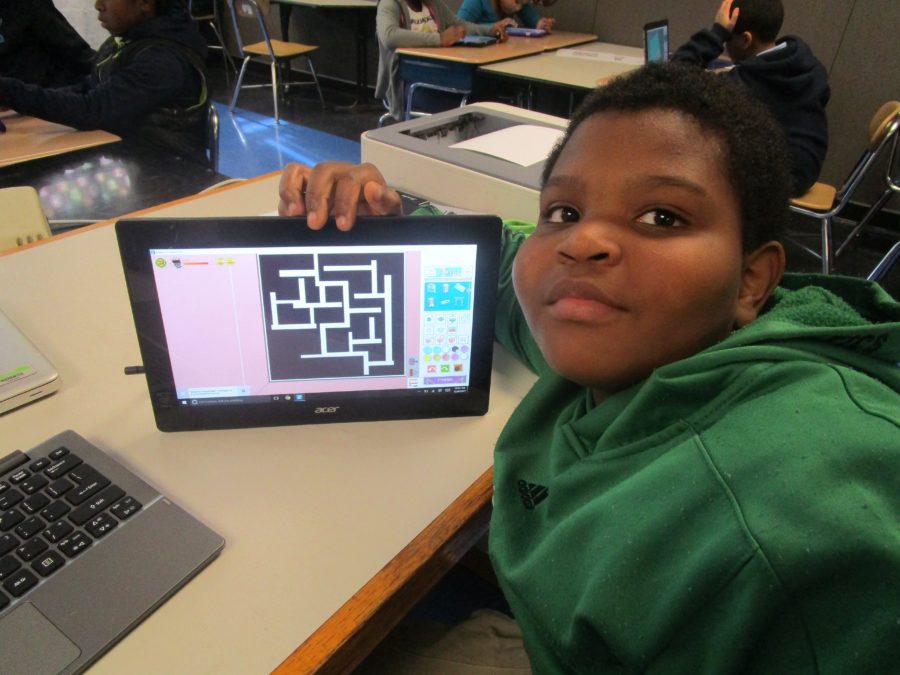
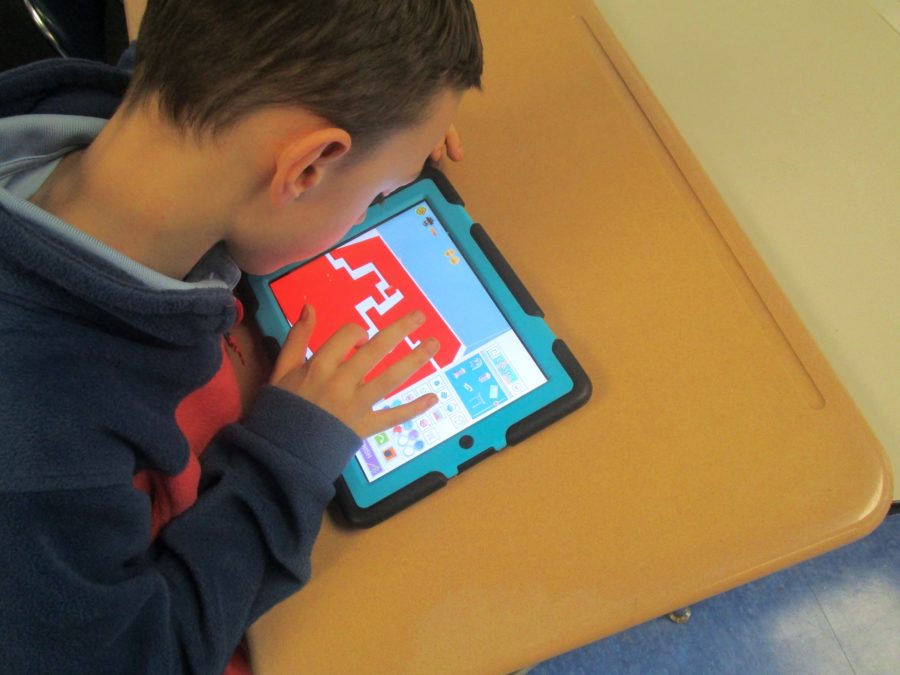
I introduced my students to the Makers Empire software in the later part of the 2017-2018 school year.
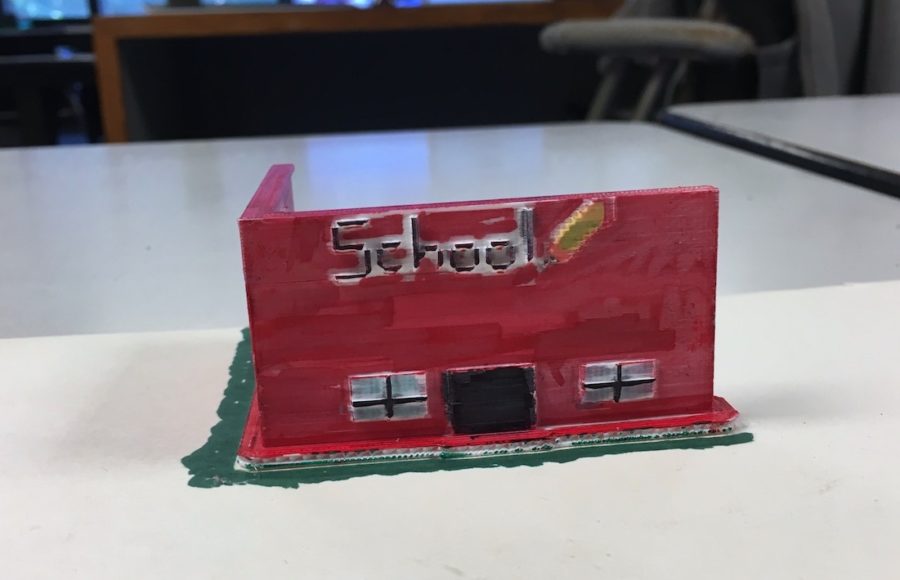
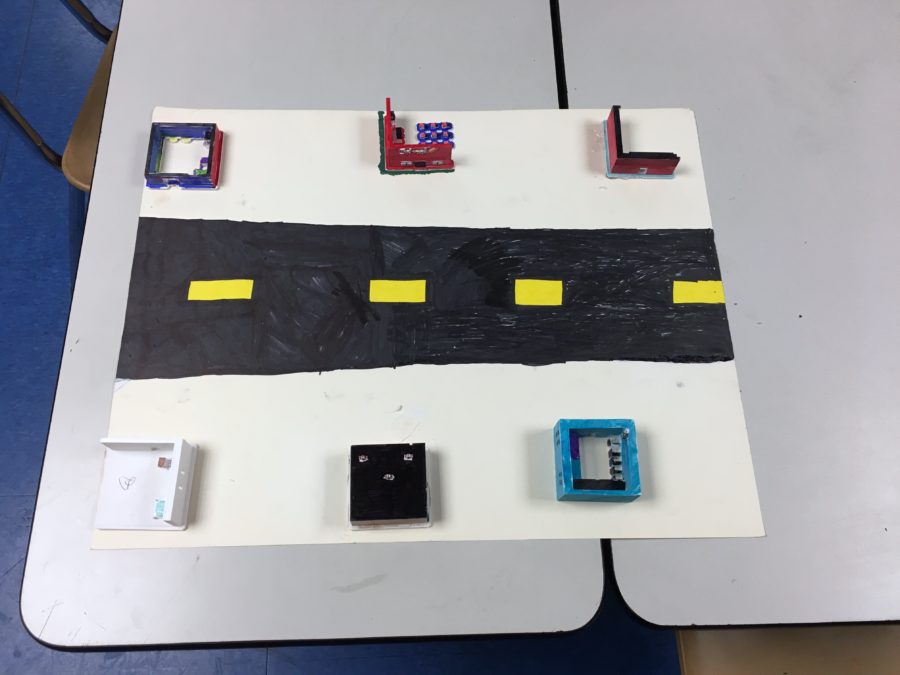
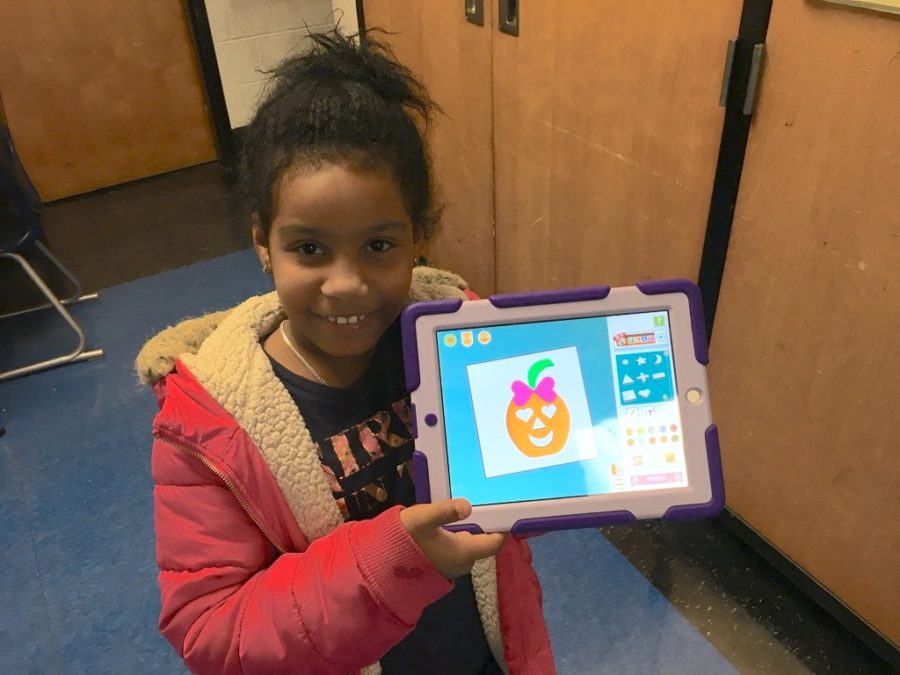
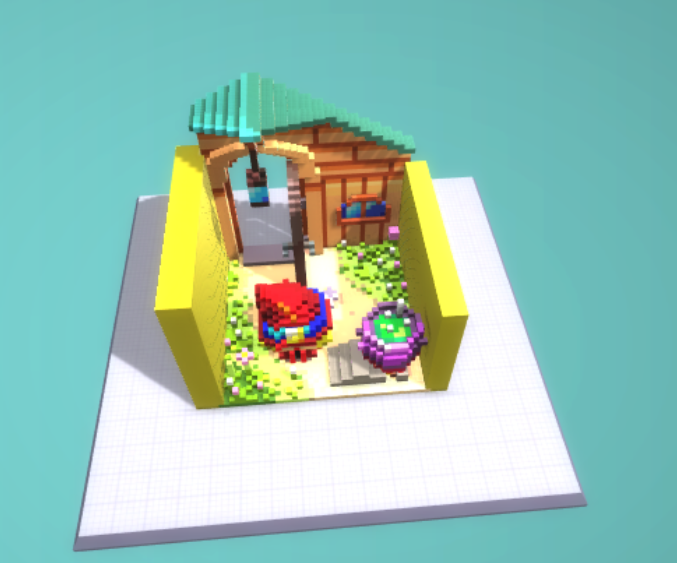
They took to it beautifully and began designing on their very first day. Almost half a year later, my students have created nearly a thousand designs and hundreds of prints.


Changing The Way I Teach
[su_quote cite=”Christopher Burdman, Tynan Elementary School, Boston”]It took me a while, but what I finally realized was that 3D printing and design is not what I am teaching, but rather how I am teaching.[/su_quote]
Anyone can hit the print button on the computer. Sure, there are technical skills that both the teacher and students need in order to make a design and have it print out correctly but that’s just the tip of the iceberg. The Makers Empire software allows kids to express themselves and to show what they have learned in the other realms of curriculum.
So I got a 3D printer and my journey has led me to a place I didn’t even know I was heading for. Having a 3D printer in my classroom opened my eyes to incredible new software that has provided my students with an opportunity to create openly.
[su_quote cite=”Christopher Burdman, Tynan Elementary School, Boston”]3D printing and design has made me a better teacher but only after taking a step back and being a student once again.[/su_quote]
Thanks for sharing your inspiring journey, Christopher! We can’t wait to see what you and your students do next.
[su_box title=”Christopher’s Essential 3D Printing Tips for Teachers” box_color=”#00ada8″ radius=”10″]
- Learn the ins and out of your 3D printer.
- Join a community – find others to help you on your journey.
- Find your preferred 3D design software. There are lots of choices, each with their own benefits. Find what’s going to work best for your students.
- Start designing and printing – mistakes are the best learning opportunities.
[/su_box]
[su_divider top=”no” divider_color=”#dfdfdf” margin=”30″]
AUTHOR BIOGRAPHY

Christopher Burdman has been a Boston Public School teacher for the past eighteen years. Having taught both math and science at the Elementary and Middle School levels, he now serves as the STEM teacher at the Tynan Elementary School. In 2011 Mr. Burdman was awarded Boston Public Schools “Golden Apple” teacher of the year award. Above all else Mr. Burdman tries to give students the opportunity to engage in meaningful, real world experiences that are challenging and cognitively demanding using the latest and greatest technologies.
[su_divider top=”no” divider_color=”#dfdfdf” margin=”30″]
MAKERS EMPIRE: BETTER LEARNING BY DESIGN
Makers Empire helps K-8 teachers teach Design Thinking and STEM/STEAM concepts and implement maker pedagogy in the classroom using 3D design and 3D printing. Our pioneering 3D solutions for schools include 3D modelling software, over 130 curriculum-aligned lesson plans, a teacher’s dashboard for easy class management, professional development for teachers and ongoing support. Makers Empire is used by thousands of teachers and hundreds of thousands of students in Australia, the USA, Asia and Europe. Join us.

4 Responses