You may have heard that Flashforge has released a new ‘Pro’ version of their incredibly popular Adventurer 4 3D printer. We were quite excited to test this new FDM (Fused Deposition Modeling) machine as we’ve been promised auto-levelling, improved print cooling, a new type of print bed for easier print removal, new high-speed filament from Flashforge, and possibly the most exciting… 2.5x faster printing than the previous version!
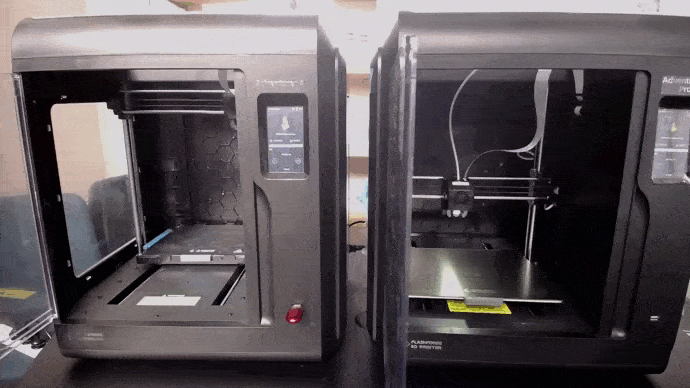
Visually, the printer looks quite similar to the original Adventurer 4, however, on a closer inspection you’ll find a few subtle differences which relate to the new features we mentioned. Check out a few of the changes below:
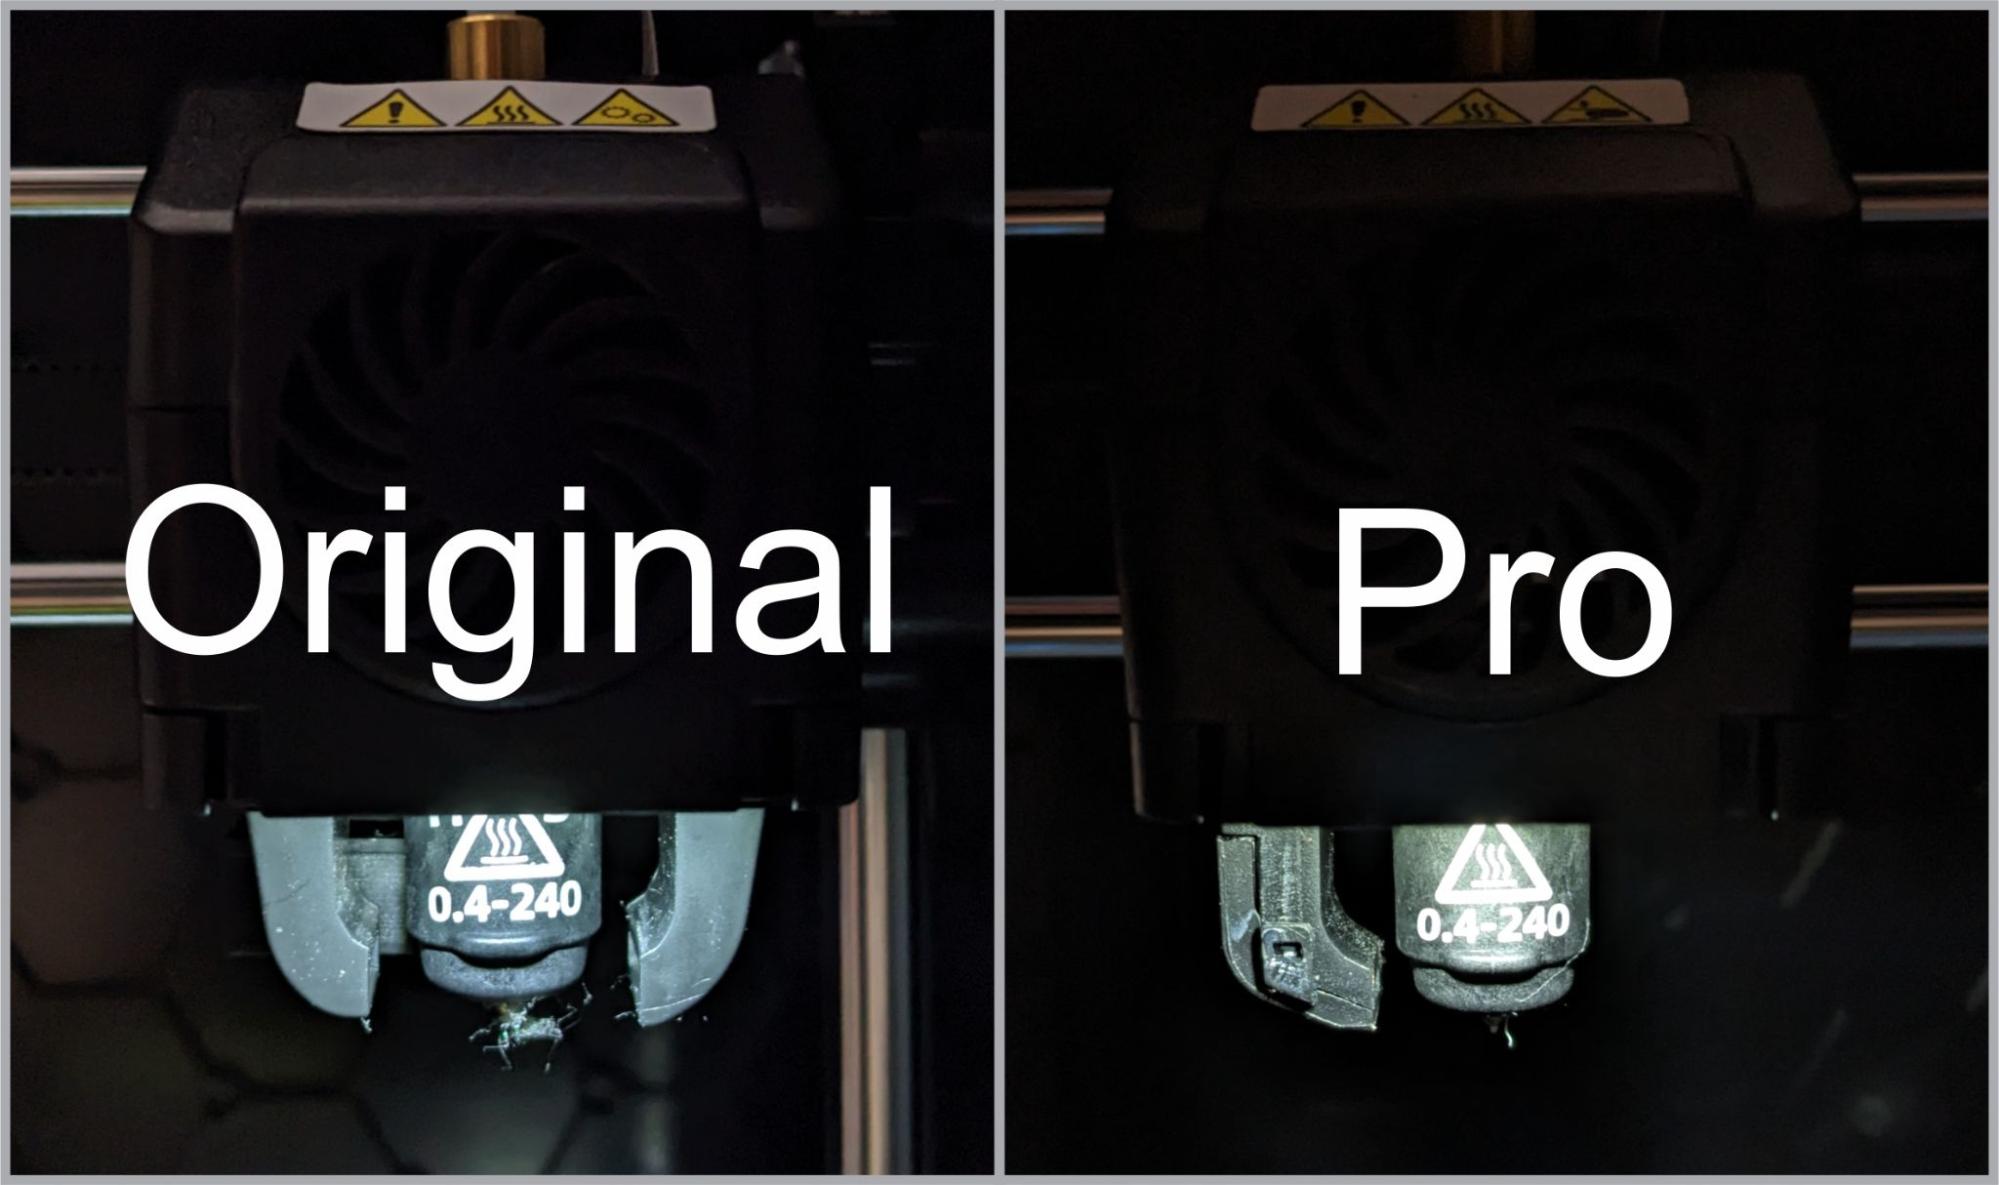
In the previous model, we had what’s called ‘assisted levelling’, where the printer will tell you what to do, and what to change as you move around the platform to get your calibration dialled in. In the Pro version, you’ll notice a new laser levelling probe attached to the head. Now when calibrating, you simply adjust one setting, and the printer uses this probe to calibrate the rest of the platform.
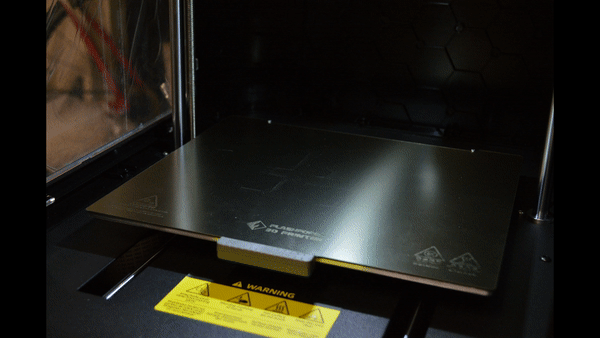
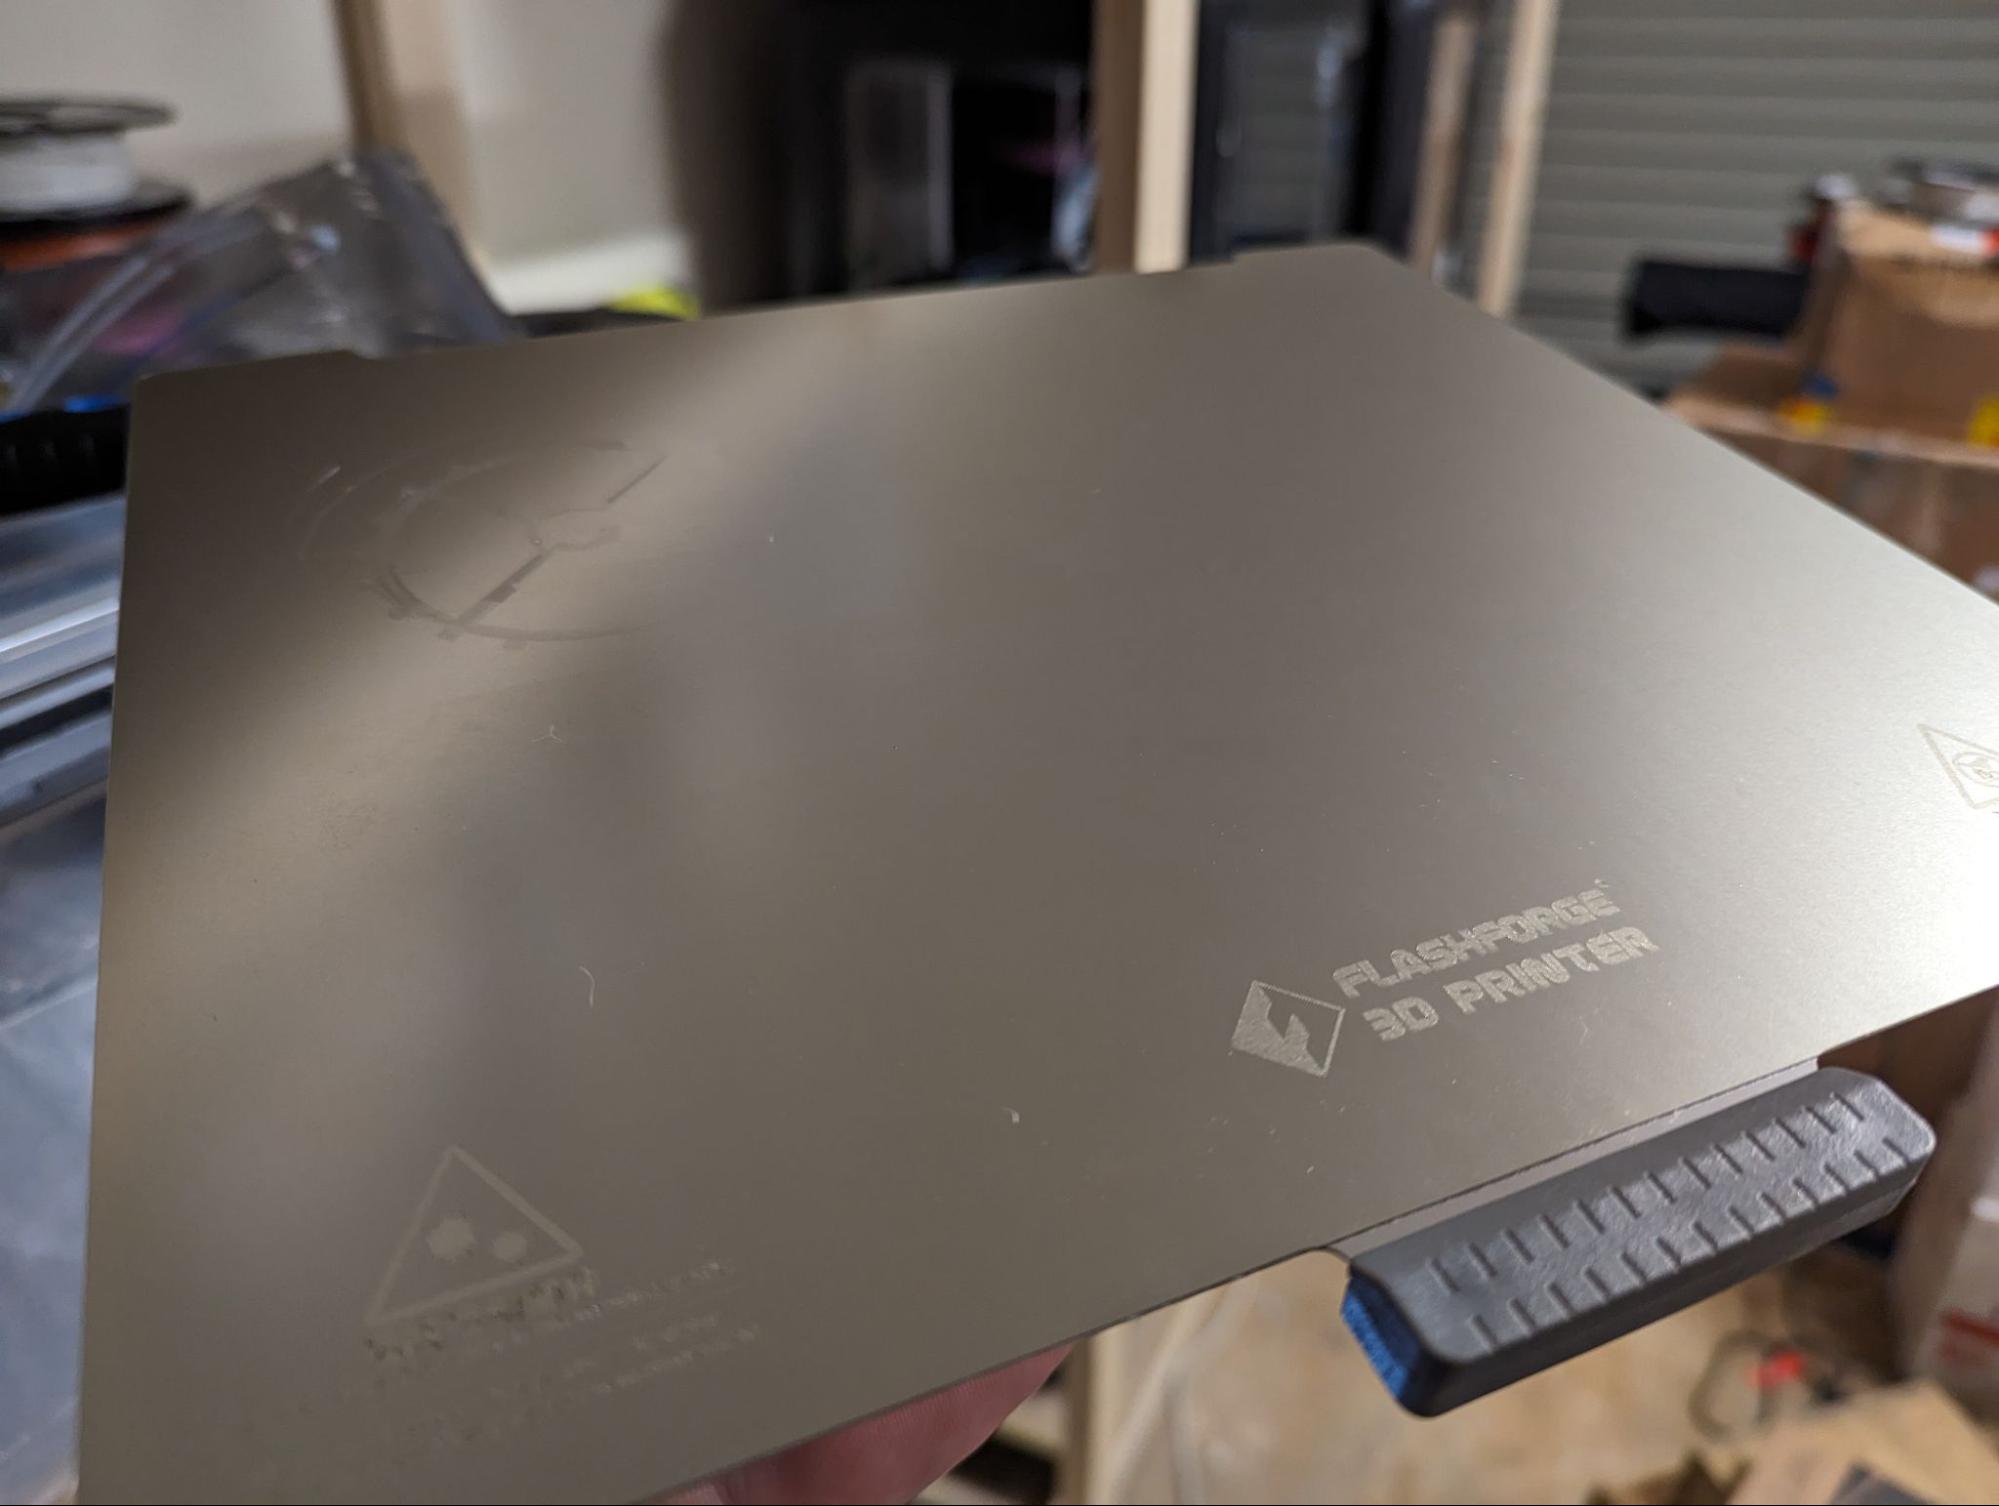
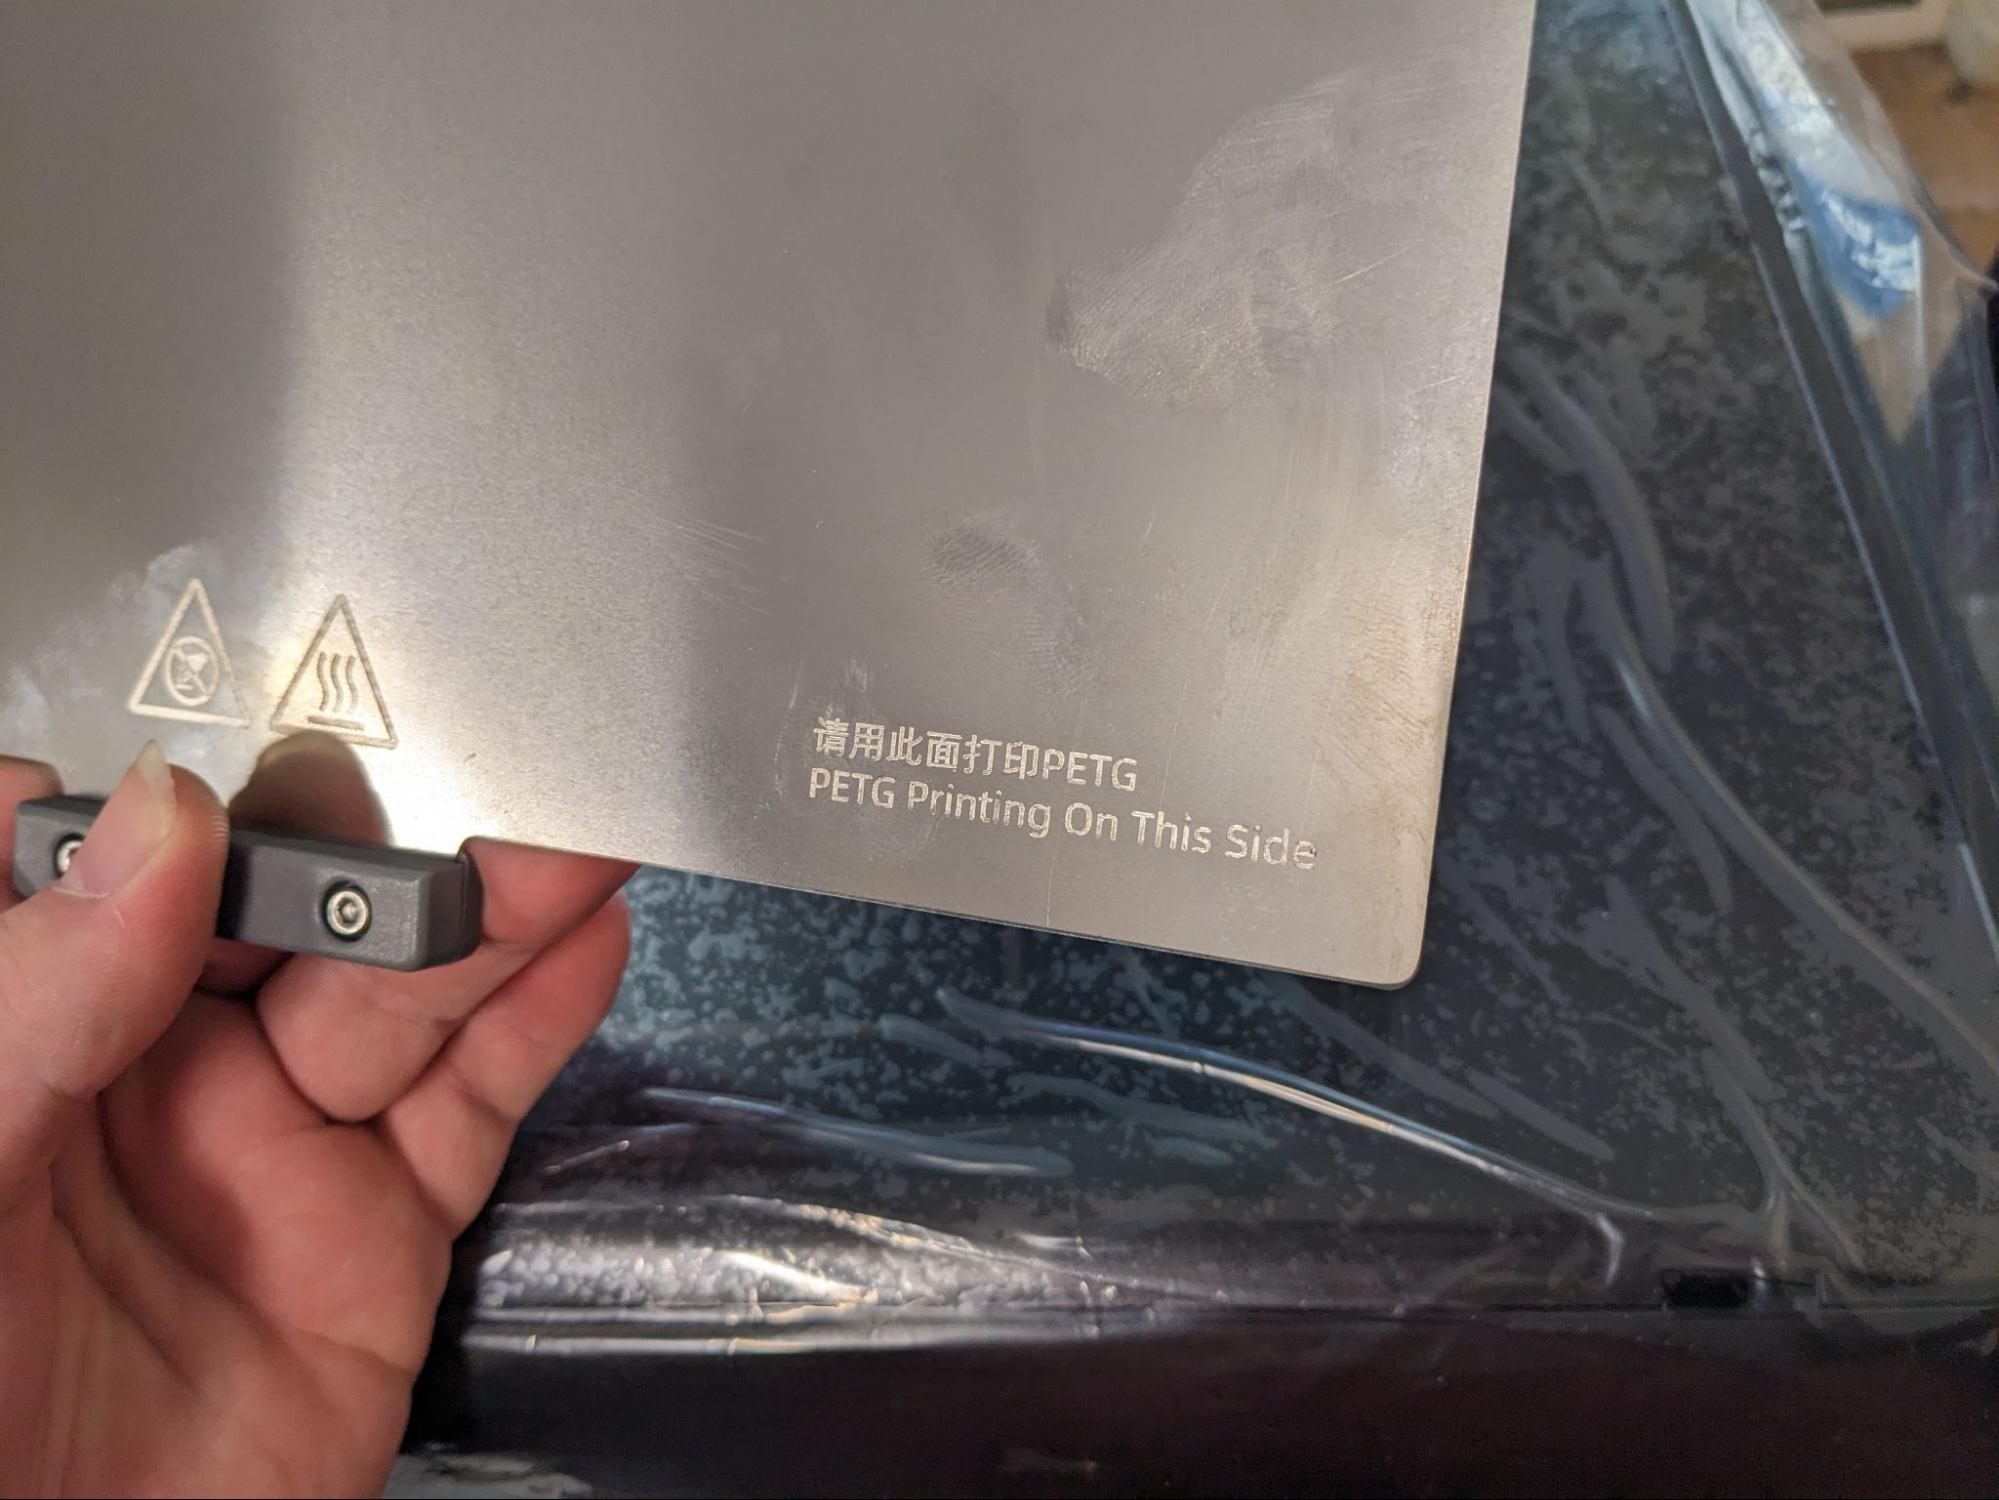
Looking inside the printer, the first thing you’ll notice is the updated print bed! The single sided textured mats are gone, and they’ve been replaced with a double-sided print bed now. One side is a PEI material which is generally used for PLA, ABS etc. The second side is an un-coated stainless steel, which is good for materials like PETG (with some adhesion glue). We ran our initial test prints on the PEI side, and ran into adhesion issues: support structures would often release from the surface and cause printing errors. Thankfully, we worked with Flashforge to find a simple change in print settings that solved this issue.
Managing the thermal mass of the material in a 3D printer is critical to getting a good print quality. Obviously the filament comes out at incredibly high temperatures, and to get good print quality, it’s important to cool and solidify the material as quickly as possible once it’s come out of the nozzle. This is especially true when you are trying to print faster, like this Adventurer 4 Pro. You’ll notice there are two air ducts on this new machine, doubling the amount of cooling, in the hopes of solidifying the print as it comes out at 2.5x the speed!
There are two main factors determining how a 3D design can be printed faster: how quickly you can melt the filament and squirt it out, and how quickly you can then cool and solidify it into the correct shape. If either of these fails, then your prints just won’t work very well at high speeds.
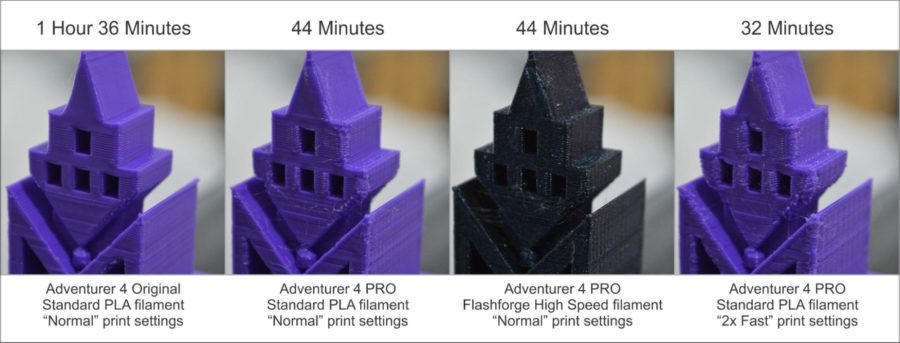
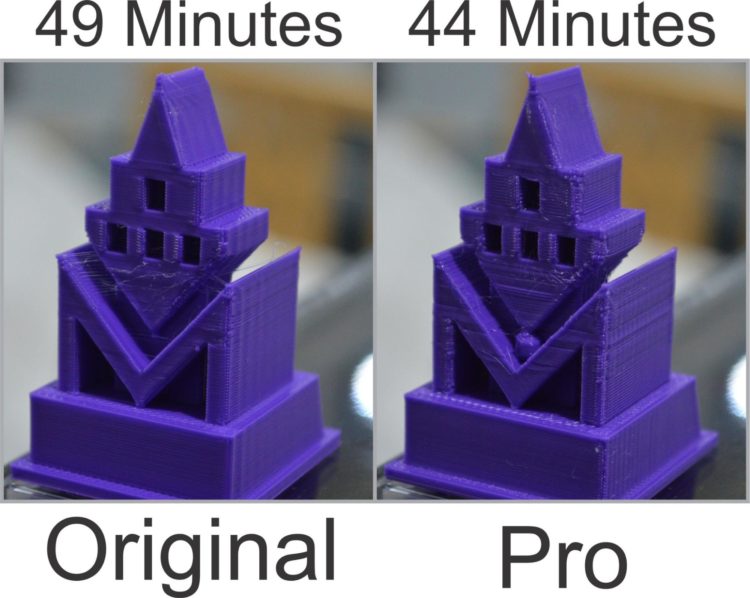
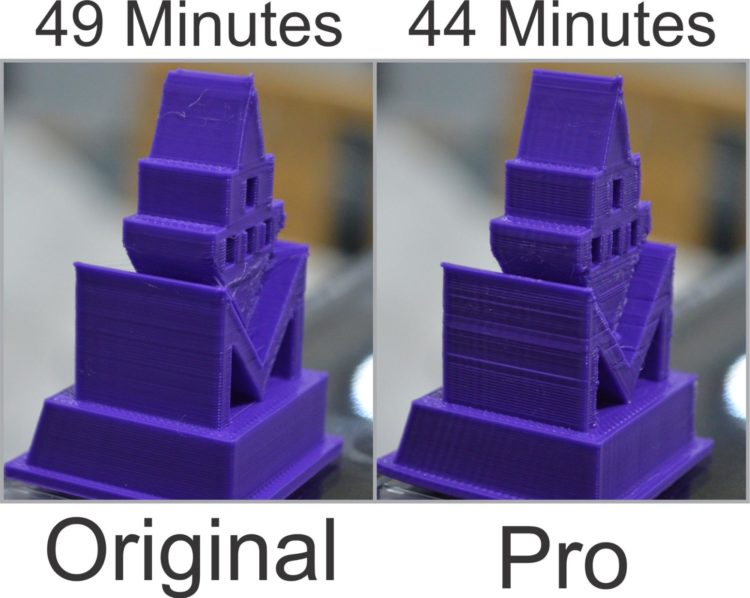
The Adventurer 4 Pro printer can definitely print faster than the original Adventurer 4 as shown in our gif above. Our printed trophy took 1 hour and 36 minutes to print on the original Adventurer 4, and only 44 minutes on the new Pro version. We did notice a small drop in print quality, however, so I’d classify this as a ‘draft’ print mode. We’re hopeful FlashForge might add a slightly slower “high quality” setting for the Pro in the future to retain the quality of the prints. You can see the results below:
Having seen these results, I was very keen to try copying the print settings from the PRO version, back to the original Adventurer 4 to see if it could handle those sorts of speeds and settings. You can see those results below:
You can see on this simple test print that the print quality didn’t suffer at all when we pushed the original Adventurer 4 to the speed settings of the PRO.
However, when we tried printing more complex designs with supports and smaller parts, the Pro model definitely coped a lot better than the original.
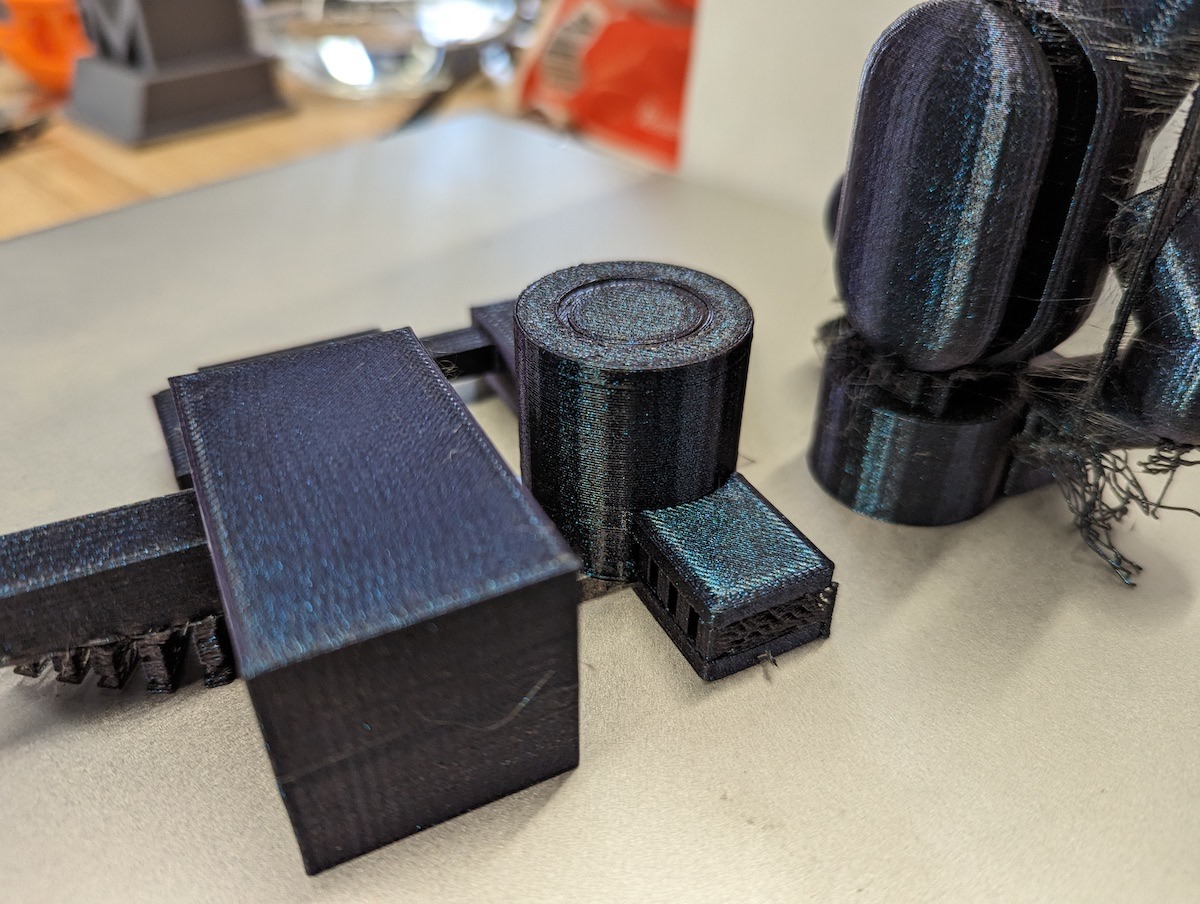
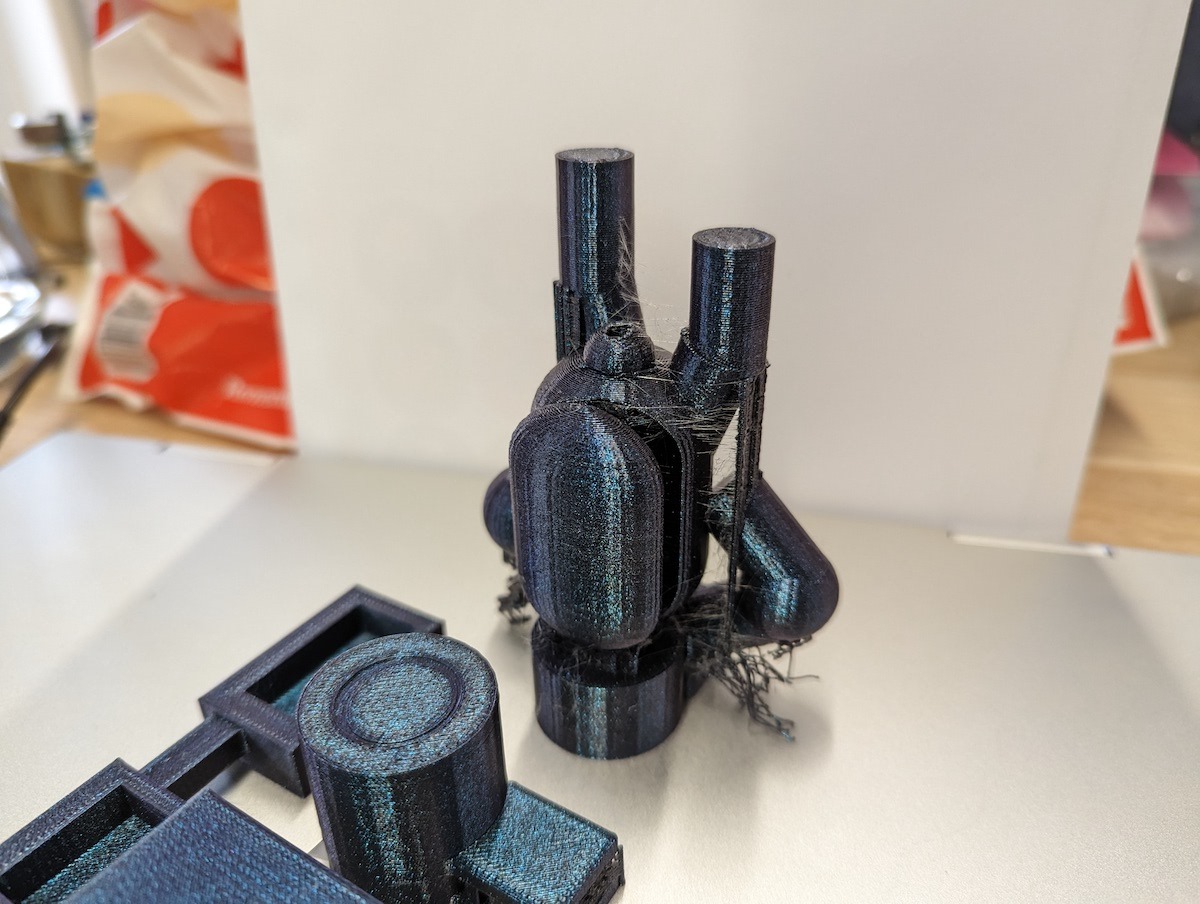
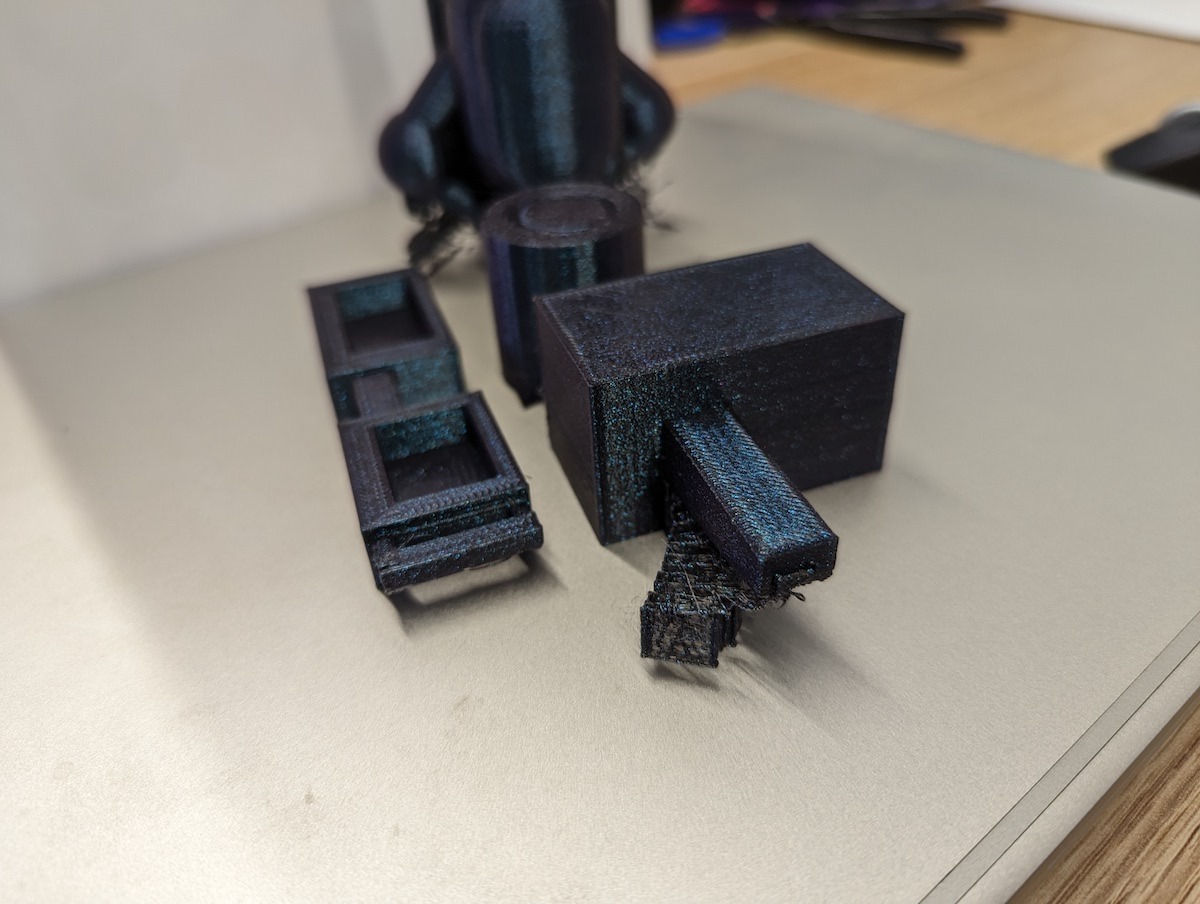
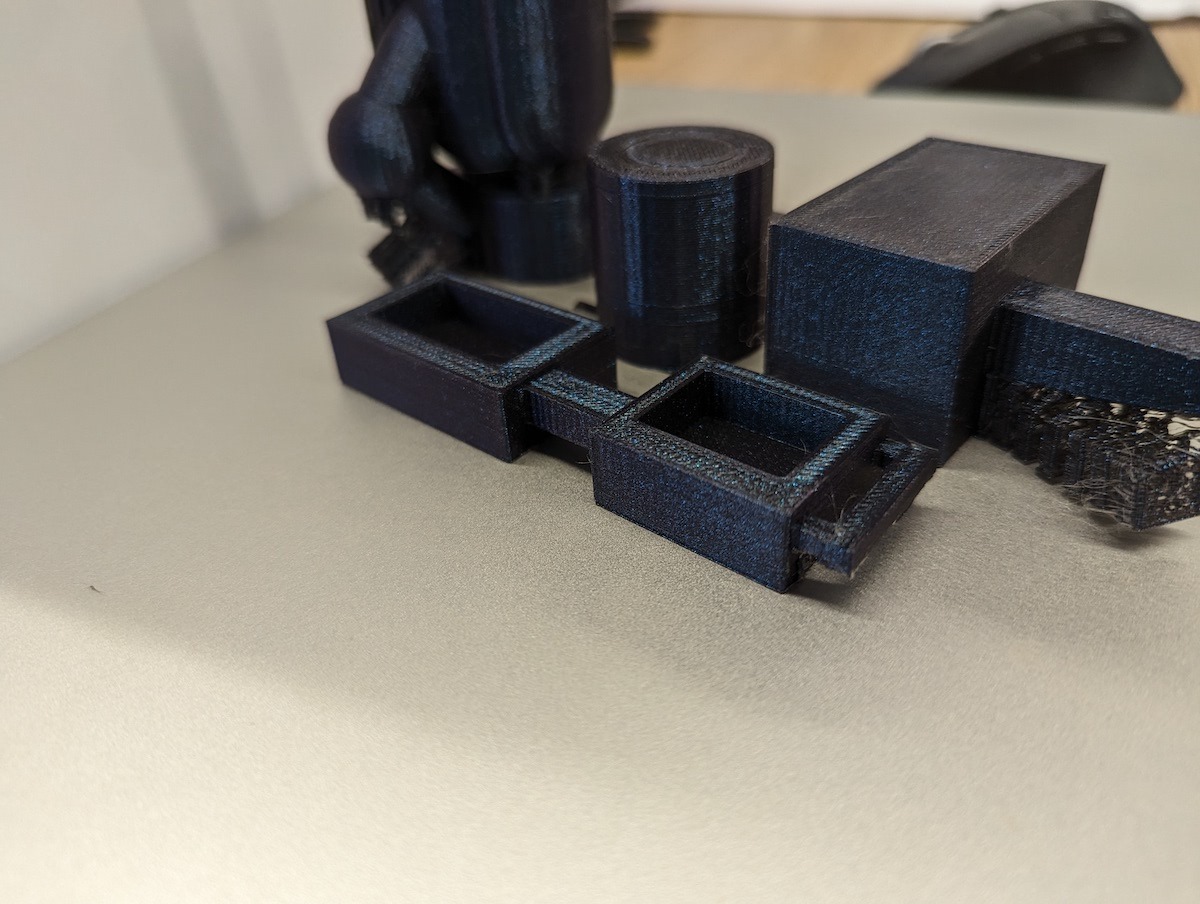
Now that you’ve seen our basic ‘apples-to apples’ comparison, let’s see how this Adventurer 4 Pro does when printing a few real-life student designs that have supports, complex geometries, and multiple different designs in one go!
In the time-lapse and photos below you can see that even with the speed difference, the supports and complex geometries of the print are still preserved pretty well. There’s a little bit of stringing, but hopefully that is tuned out in future software updates.
We’ve used and sold Flashforge’s Adventurer 4 3D printers for quite a while now, and they are an absolute best-selling work-horse. The print quality and reliability are fantastic, and we’ve found that most servicing and troubleshooting can be done over the phone in just a few minutes. The Adventurer 4 Pro is a successor to the original and includes some great new features, our favourite of which is the automated calibration: just measure one point, and the printer will automatically complete the rest.
We are super glad to see that the Adventurer 4 Pro can print up to 150mm/s, as it’ll mean a faster turn-around time for school users. We’re just hoping to also see a less ‘speedy’ setting implemented in the future, so that users can easily change between fast printing and great quality printing.
With that said, the Pro version of the Adventurer 4 is definitely a really nice step-up from the original with the added features in our review.

Luke is the Hardware Specialist at Makers Empire. He has a Bachelors degree in Industrial Design and has been using 3D printing technology since early 2012. He also volunteers his time managing Makerspace Adelaide, a community space in the Adelaide CBD. He believes 3D printing is a technology that will go far and unlock doors we never knew were there, and he is stoked to be at the forefront, doing what he loves.

Please wait while you are redirected to the right page...