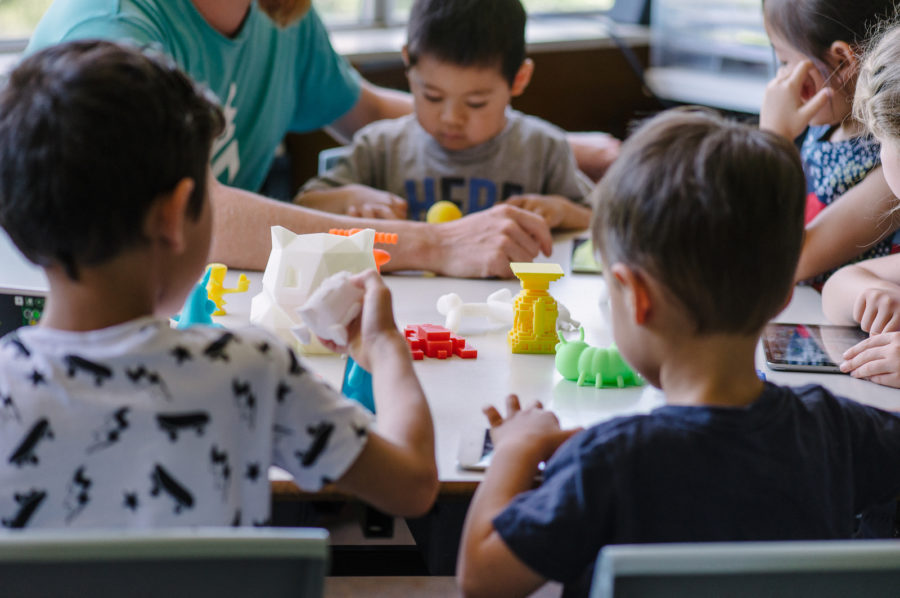
At Makers Empire we’re fortunate to work with thousands of inspiring K-8 teachers — and hundreds of thousands of students — in Australia, America, Asia and Europe. Over the years, we’ve learned a lot about working with schools and how to successfully set up 3D printing in your school library from scratch. So here are our top 9 tips to consider when setting up 3D printing in your school library.
1) THINK BEYOND THE EQUIPMENT
Sometimes school libraries invest a 3D printer only to find the 3D printed underutilised and the results disappointing. Just as creating a home is not just about furnishing a house, creating a true school Makerspace goes far beyond outfitting a room with equipment and tools. Computers and 3D printers are inert tools – it’s expertise, training and community that makes a school Makerspace successful.
2) ALIGN WITH TEACHING GOALS
Will your library’s 3D printing area be a small area to tutor individual students or a bigger one to teach full classes of students? Will it also be a combined Learning Room or perhaps a STEM-focused room? Your teaching goals will significantly impact on your space, tools and equipment requirements. Make sure you are clear on these before purchasing tools.
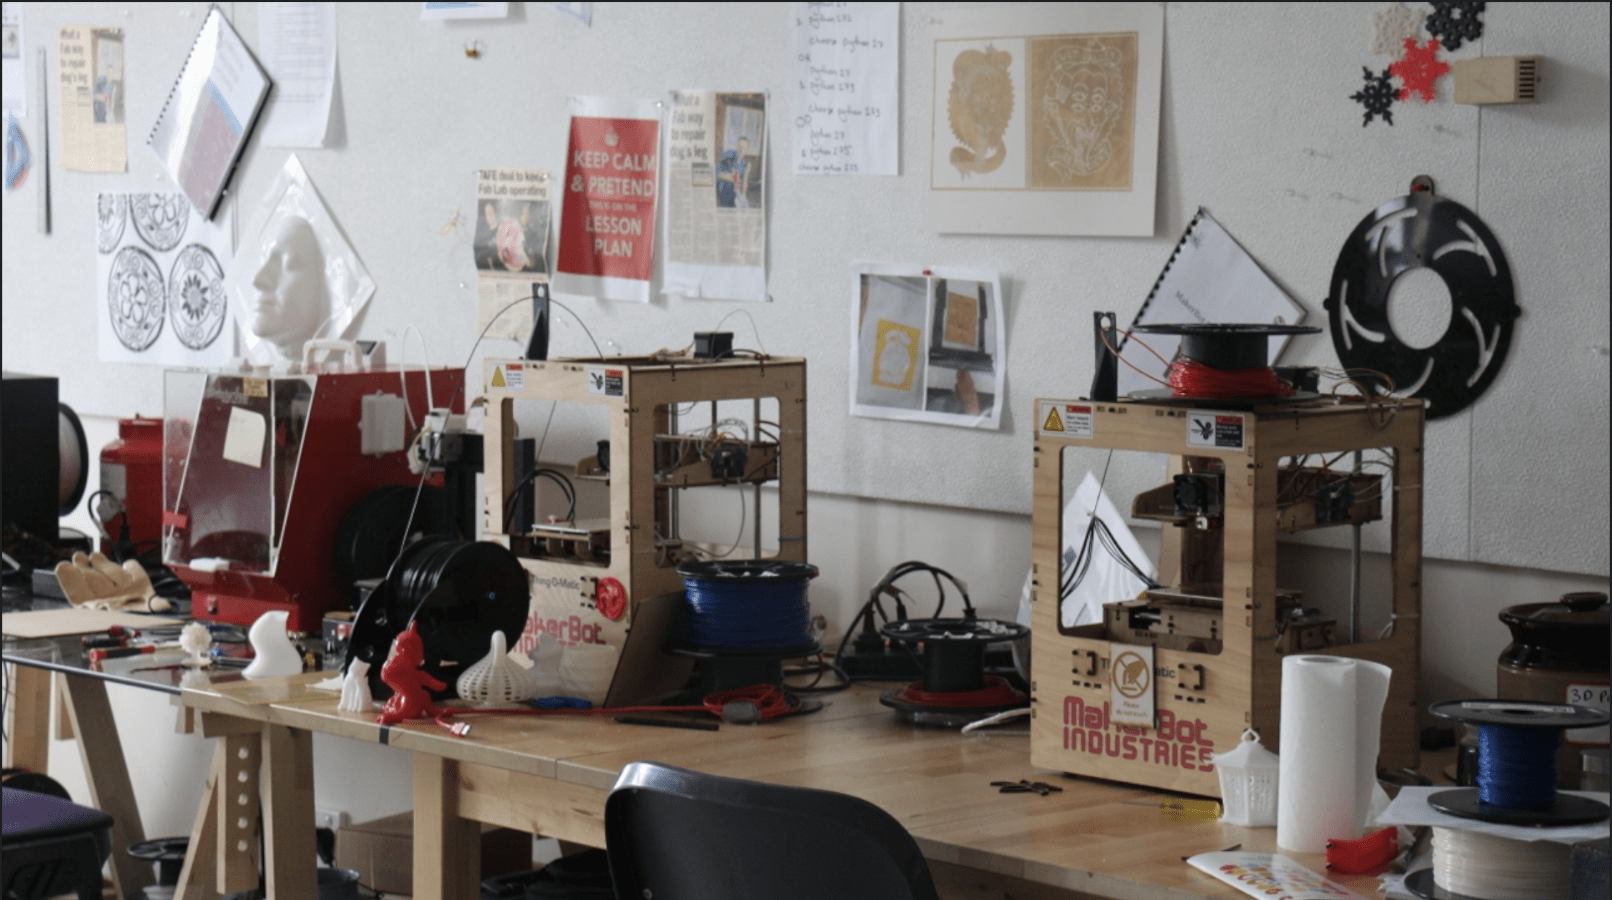
3) DO YOUR RESEARCH
While the internet makes researching Makerspaces from your desk a breeze, we recommend that you get out there and visit some nearby Makerspaces. Check out community workshops such as Fab or Hackerspace. How do their Makerspaces make you feel? What equipment do they use? How many people can they accommodate at once? What have they done well and what could be improved? Talk to the people running the Makerspace and ask them if they have any helpful suggestions – we’ve found that people who make things are usually very happy to share their tips and expertise.
4) ENSURE AGE-APPROPRIATENESS
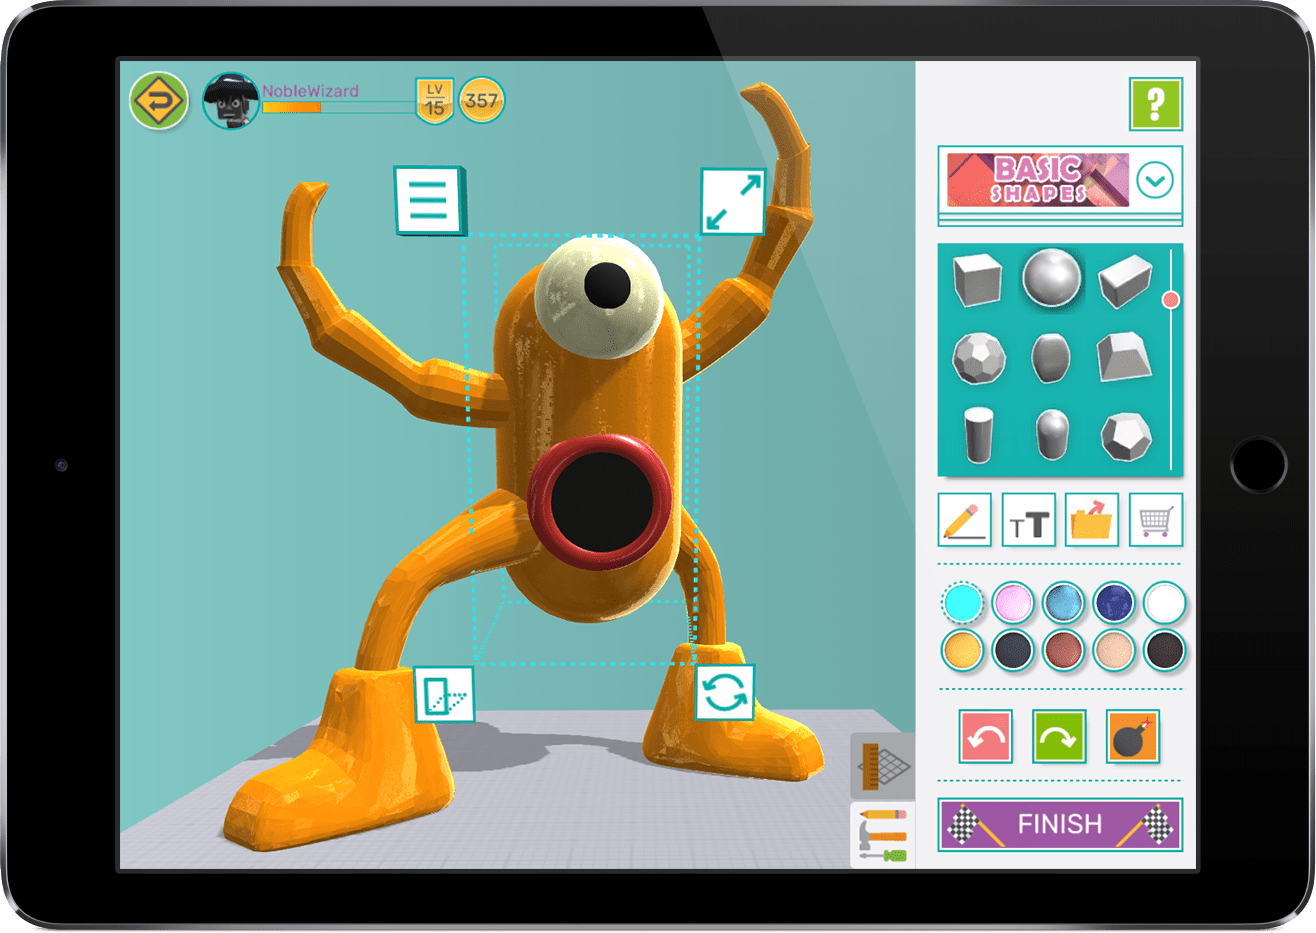
When outfitting your library with 3D printing and design tools, think about the age ranges of students at your school and what tools and equipment are within their capabilities. While students can surprise you with their rapid progress, and you want tools that allow them to learn and grow, tools that are prohibitively complicated for beginners will be frustrating to use. Make sure that the tools you use are designed for younger students. Makers Empire has been designed for K-8 students so it is ideal for kindergarten, primary, elementary and middle school libraries.
5) PLAN YOUR SPACE THOUGHTFULLY
A general starter list would include:
a. Smart Board or whiteboard
b. Desks and chairs or stools set up to encourage collaboration
c. At least three small 3D printers placed around the edges of the room
d. Easy to use 3D software
e. Professional development and training for teachers
f. Space/storage for equipment such as filament, scrapers, simple hand tools
g. Computers or iPads
h. Paper and pencil for sketching
i. Miscellaneous stationary
6) CHOOSE AN AIRY SPACE OR ROOM
An ideal Library Makerspace would have lots of natural (sun) light and windows that can be opened to ensure a well-ventilated space. Air conditioning is a good alternative.
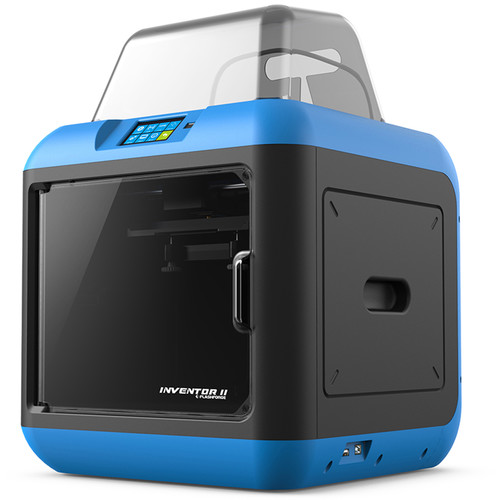
7) CHOOSE A SCHOOL SAFE 3D PRINTER
Some 3D printers have air filters that minimise the odour generated when printing but many printers do not. Purchasing a school-friendly 3D printer with air filtration is important for your students’ health and comfort. We always recommend you use 3D printers in a well-ventilated room, too.
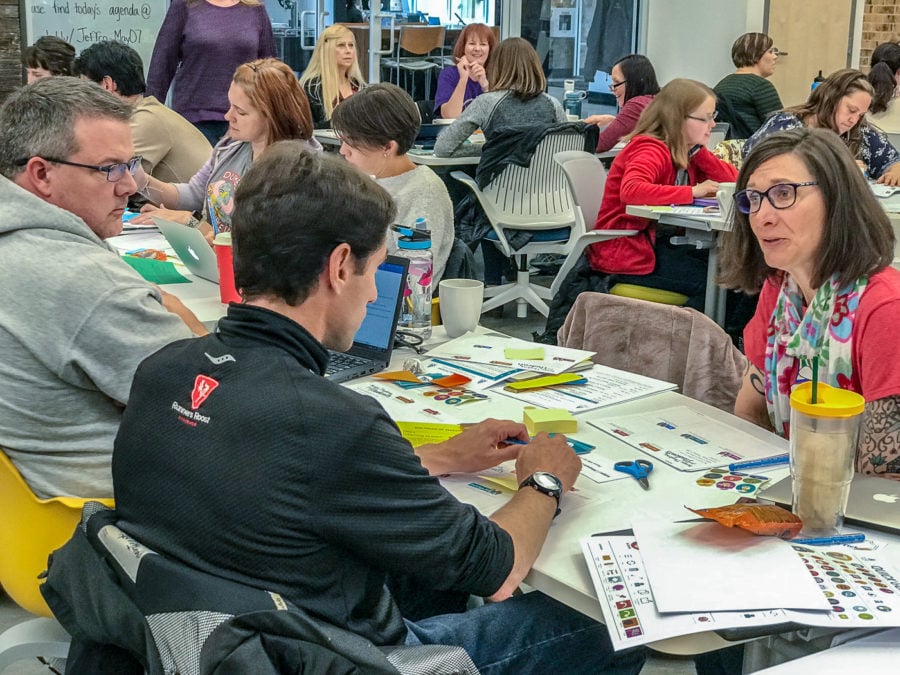
8) EXPERT PROFESSIONAL DEVELOPMENT
We highly recommend investing in professional development around 3D printing, 3D design and design thinking for teachers to ensure that they have the skills and knowledge to make your Library Makerspace a success. We also recommend having one librarian in charge of the Makerspace. He or she can then be responsible for coordinating usage by other teachers, restocking filament and other supplies, and assisting teachers with any troubleshooting.
9) GROW YOUR COMMUNITY
There are many ways to use your school library Makerspace to enhance or develop relationships within your school community. We love these great ideas used by teachers within the Makers Empire global community:
Use the buddy system – team up older students with younger ones to enhance learning and deepen engagement. See this example.
Solve problems within your community – find a local person or company with a problem. Have students design a solution to that problem and then present their ideas to their person or company. See this example.
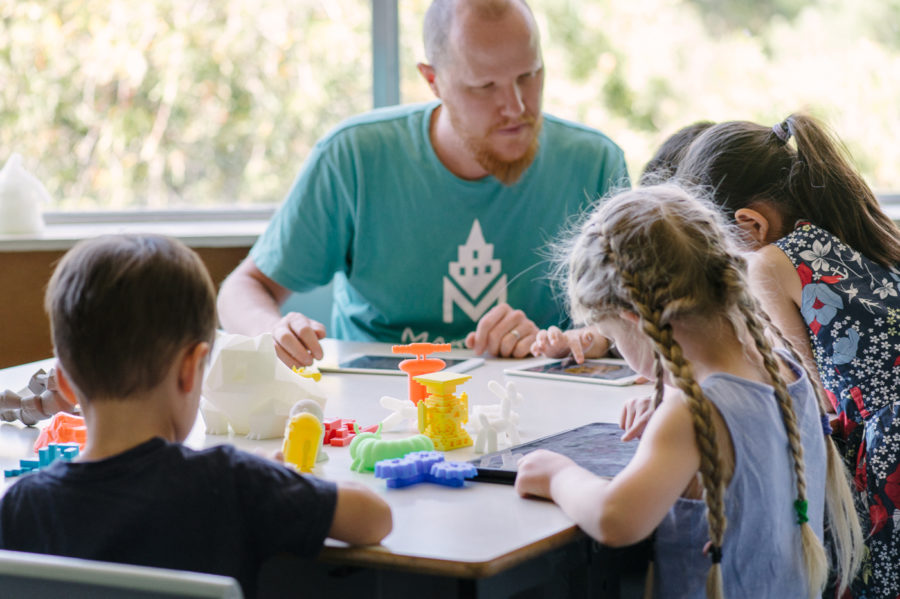
Make it a family affair – schedule a library activity for your annual parent-teacher night. Invite parents to take part in an activity where they create a design with their child. See this example.
Create a 3D printed sculpture – your whole school community can contribute to a school sculpture when you create is using 3D design and printing. See this example.
As you can see, creating a successful Makerspace in your school library requires some thought and planning. But once you’re set up, you’ll be thrilled by the learning outcomes that can be achieved by students in a well resourced and well-run space!
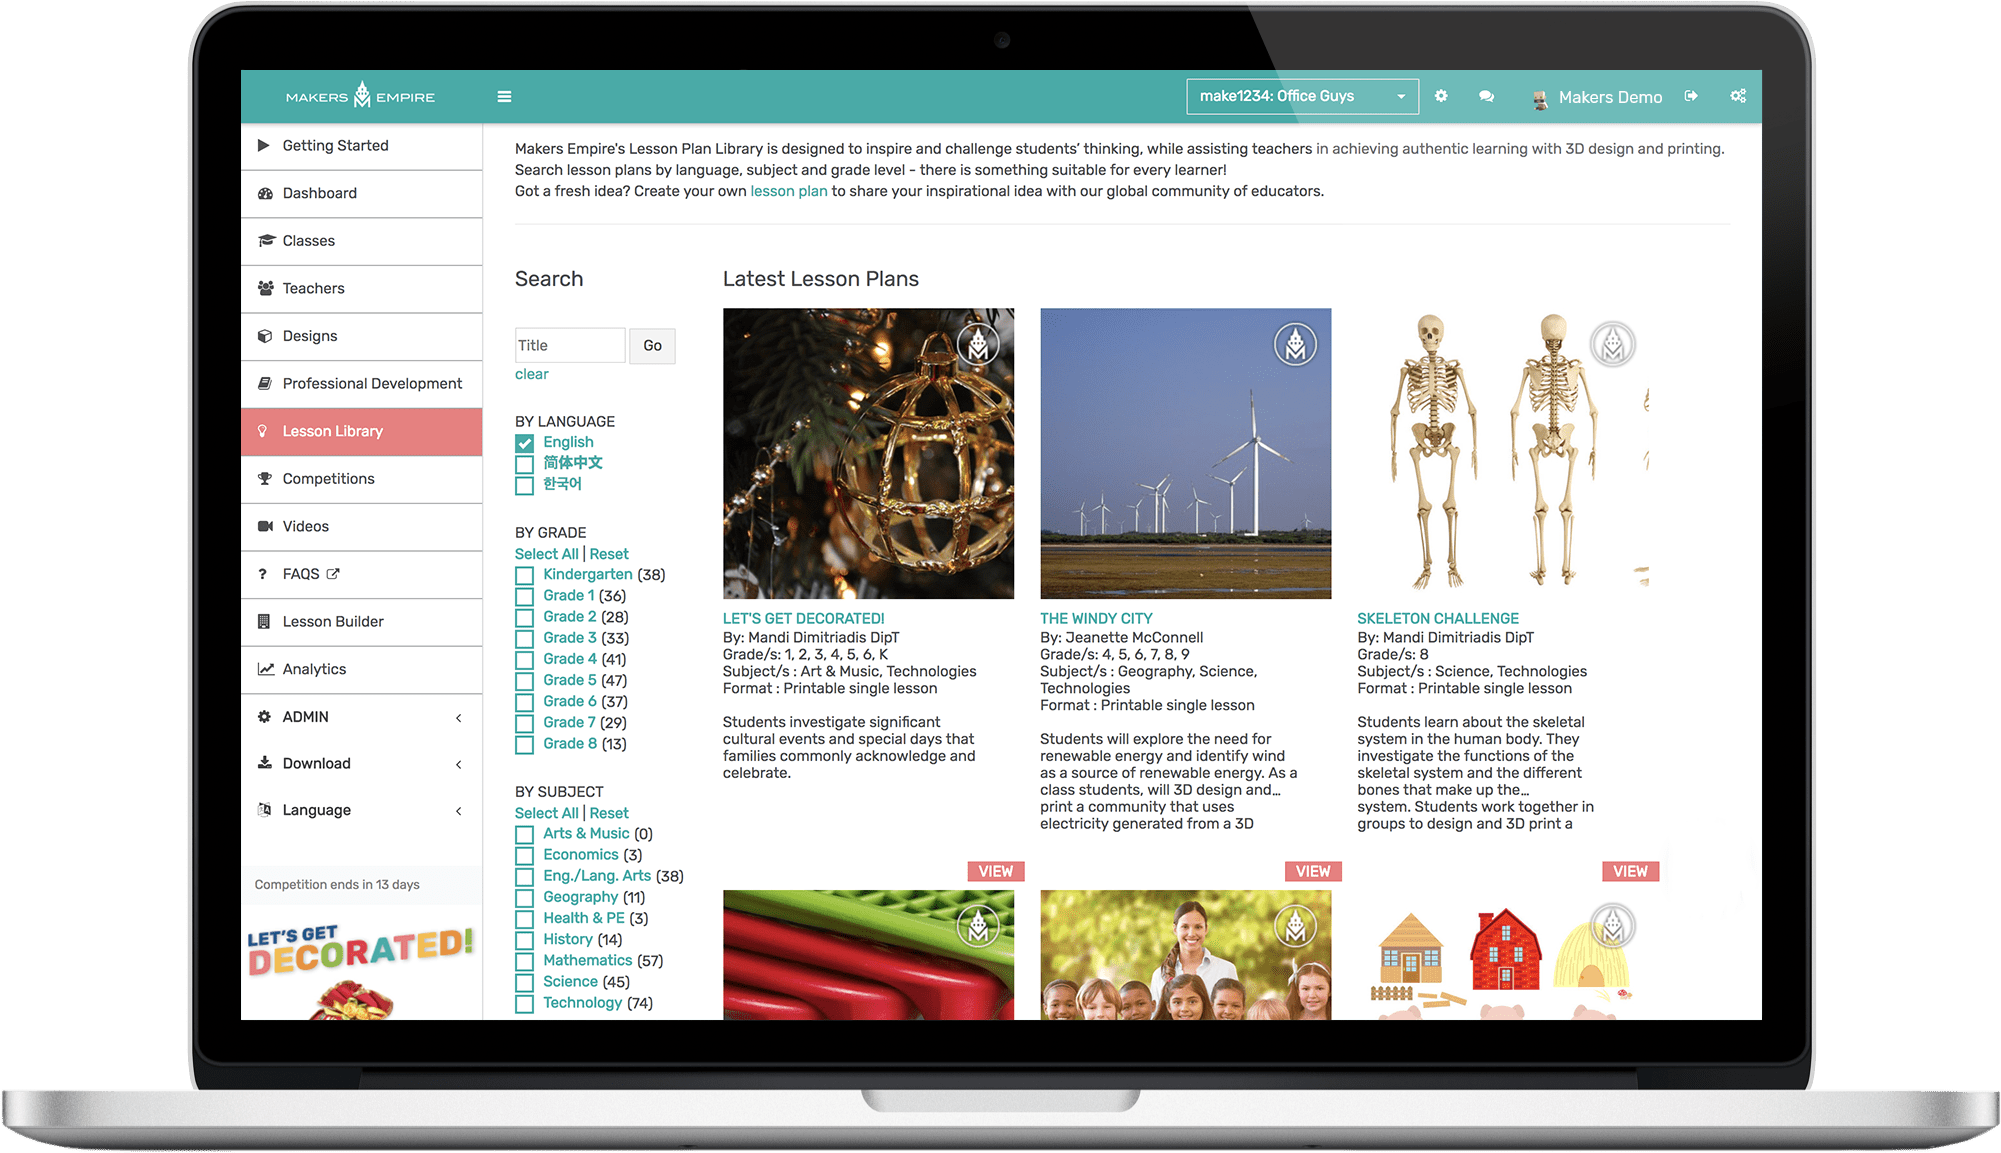
THE MAKERS EMPIRE SOLUTION
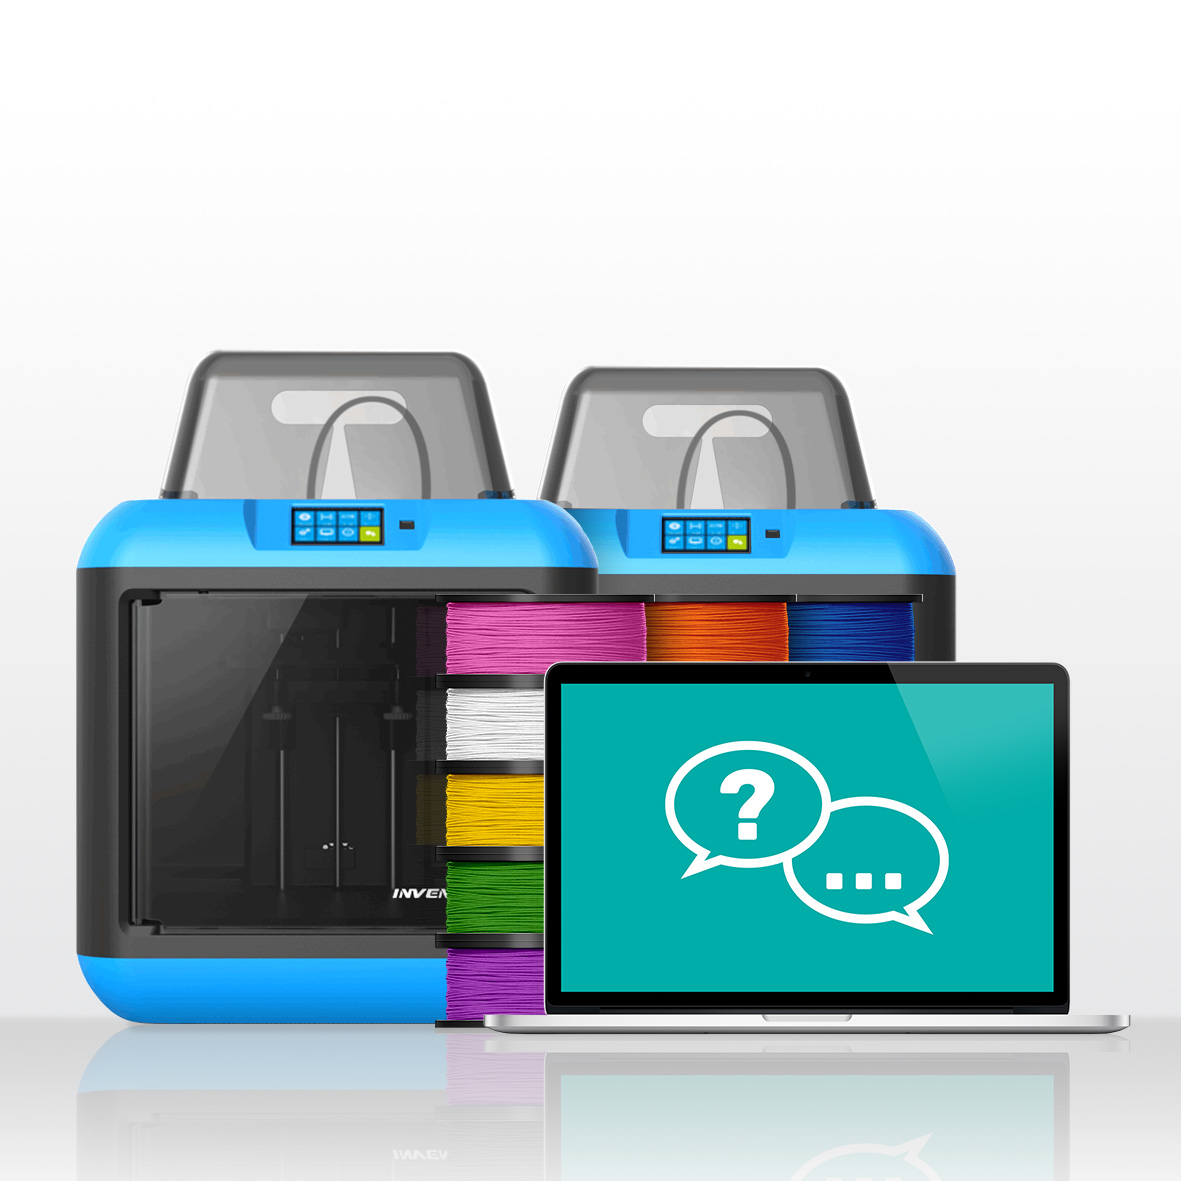
Makers Empire helps K8 educators integrate 3D printing and design thinking into their school curriculum. Our tailored solutions for schools include professional development for teachers, over 130 curriculum-aligned lesson plans, easy to use 3D software, a teacher’s dashboard and analytics. We also offer 3D printing hardware packages bundled together with training and ongoing support. Join our community today.
[go_pricing id=”division1c_5ab1c95f2414c1p”]