Augmented reality (AR) is coming soon to the Makers Empire’s 3D design app!
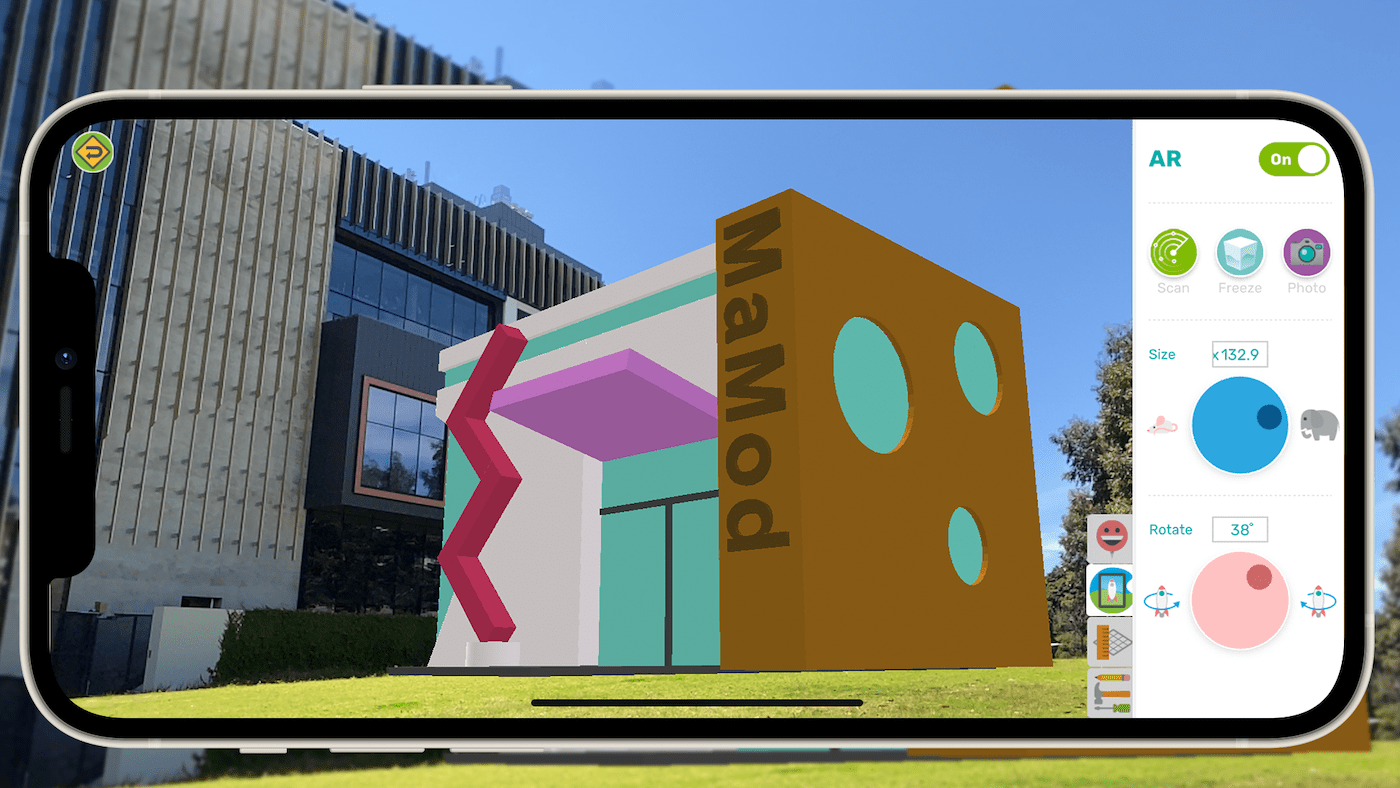
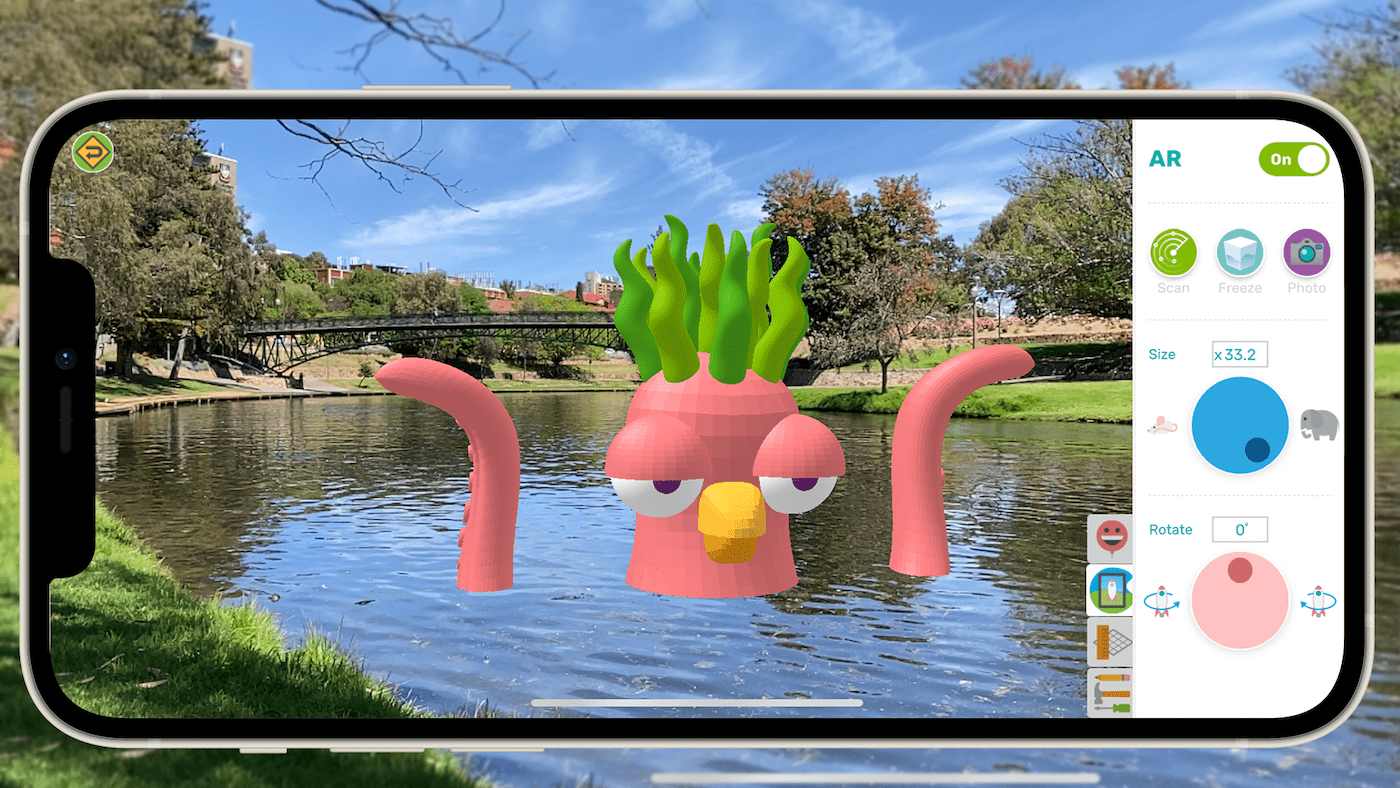
With the new AR tool, students using the Makers Empire 3D design app will be able to take a live view of their surroundings – see this example of our office building here above – and then insert their Makers Empire design into the live view. In the bunny example above, once you have placed your bunny in position it will stay there even if you move your phone/device around.
Augmented reality (AR) means more opportunities to enhance learning in 3D for students. Makers Empire’s Director of Learning, Mandi Dimitriadis, will be creating some easy lesson ideas for teachers so that they can explore the new opportunities for learning that AR will provide within the Makers Empire 3D design app.
Mandi says, “I am really looking forward to many ways the new AR functionality will add to the Makers Empire experience. I’m especially looking forward to seeing students test out their designs in authentic contexts which will make the whole design thinking process much richer and engaging.”
Matt Stuckey, Makers Empire’s Director of Customer Success, agrees.
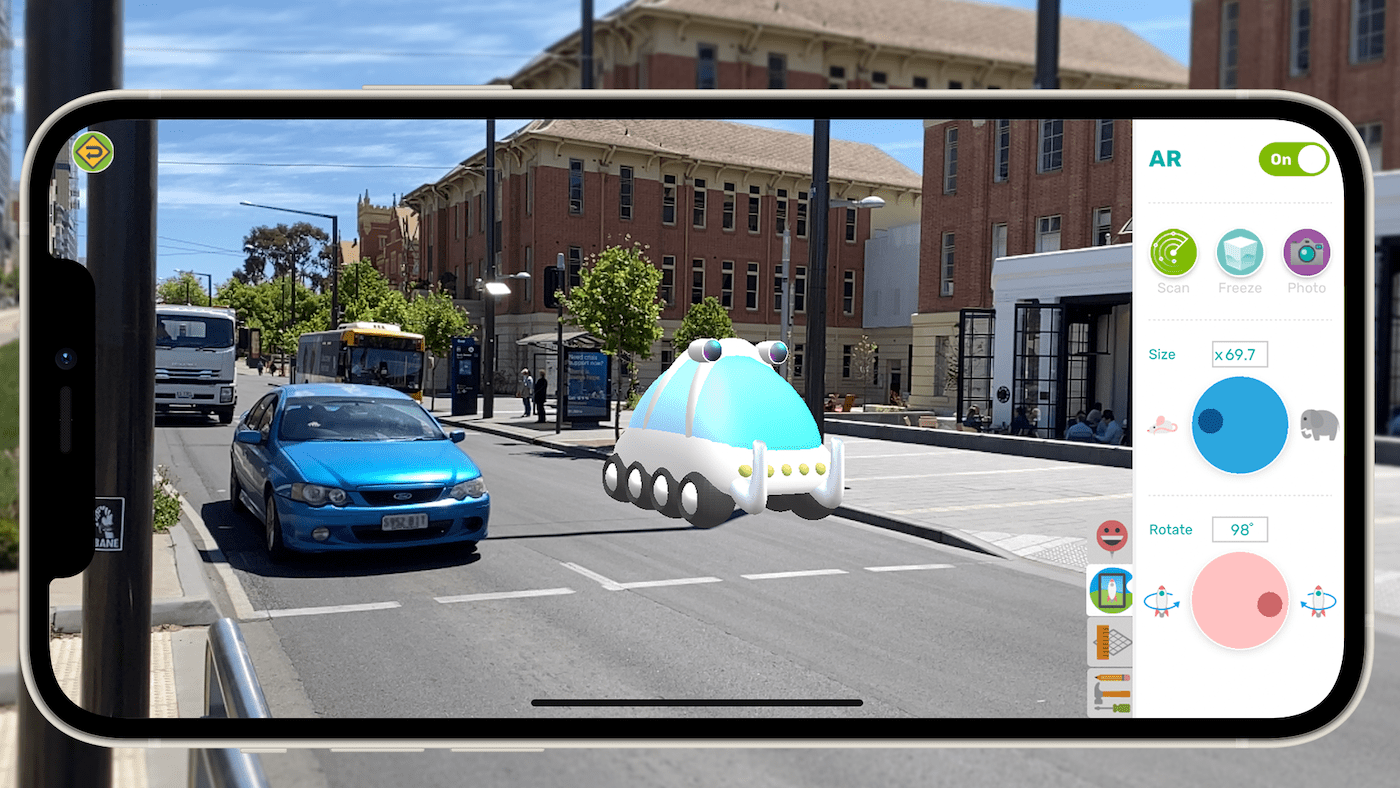
“AR (Augmented Reality) gives students the power to have an idea, build it in Makers Empire and quickly visualise their design in the real world. It is a wonderful way to encourage students to think about the context of their work and explore the relationships between designed objects and the natural and built environment. And most importantly, it is REALLY fun!” he says.
AR will be launched in the Makers Empire 3D design app in the next update of the app, scheduled for November 2021.
How to Use AR in Makers Empire 3D App
Detailed Instructions
Read our AR help article for an explanation of AR and more advanced instructions.
Basic Instructions
Open an existing design in My Designs, or click Create > Shaper to make a new design.
Select the AR tab on the right.
Set the switch to ON (top right).
Point your device at a flat surface* and move it around slowly.
Once a surface is detected, a grid will appear. Click/tap on the grid to position your design.
Use the Size and Rotate dials to adjust the size and angle of your design.
Press the Scan button if you want to put your design on a different surface.
Press the Freeze button to pause the live camera feed if you want to.
Press the Camera button to take a photo of your AR scene and share or save it. Images can be used in presentations, newsletters and socmedia posts.
Please wait while you are redirected to the right page...