Augmented Reality in Makers Empire

Makers Empire’s augmented reality (AR) capabilities enable students to visualise and test their 3D designs in authentic, place-based contexts. 

10 Ways to Use AR To Enhance Learning

Here are 10 ways to use the AR tool in the Makers Empire 3D design app to enhance and demonstrate learning:

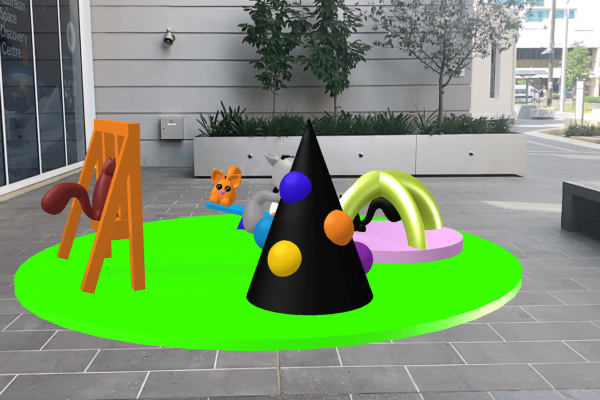
Makers Empire 3D App: AR | Playground

1. Test Protoypes

Add authenticity to the design thinking process by enabling students to test prototypes of their designed solutions in the real-world. Students might design playground equipment for their school and instantly be able to place their designs in the school yard. What a great way to visualise what their designs will look like in context, and to evaluate how well their solutions will work.

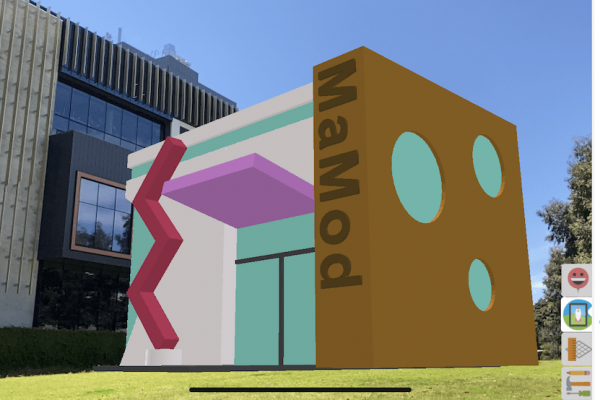
Makers Empire Augmented Reality Example building

2. Construction Projects

Students can become genuine partners in school or community-based construction projects. Their proposed designs for a new STEM building, classroom furniture, or Community Centre can be placed in context and presented to stakeholders.

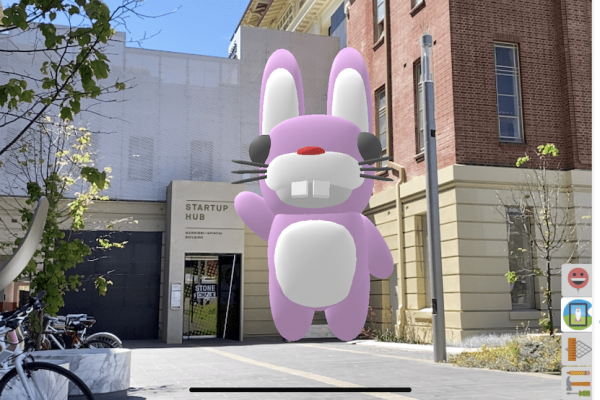
Makers Empire Augmented Reality Example Rabbit

3. Art Installations

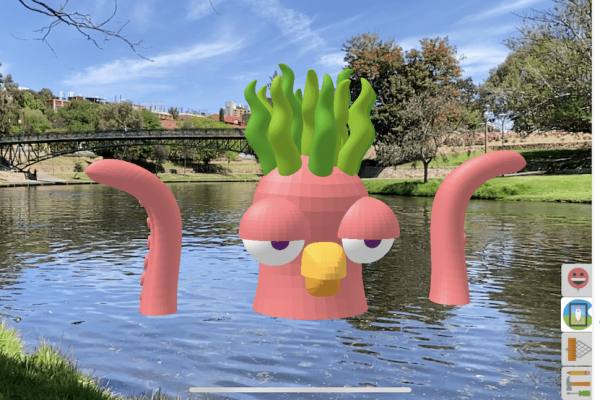
Imagine students’ designs becoming part of an exhibition or art installation. Prior to visiting a museum, students might create an object or display related to their learning topic and then see their ideas come to life during the visit. Designs could be added to festivals and community events such as a Moon Lantern festival or Christmas parade.

 
Makers Empire Augmented Reality Example Octopus

4. Tell Stories

Students can use their designs to create and tell stories. They might design characters, props, or settings to help present and share the stories they are writing in their literacy focus. Images could then be added to videos, live, and other presentations.

 
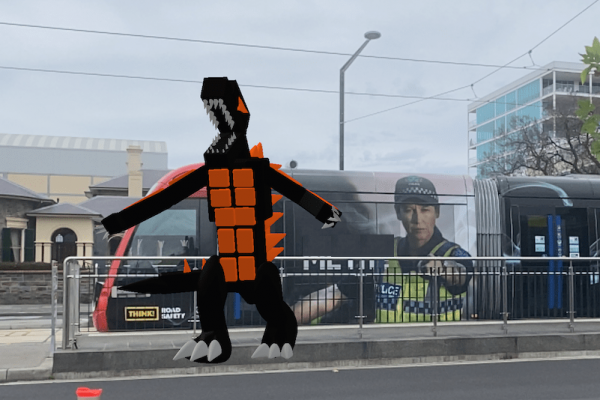
Makers Empire 3D App: AR | Godzilla

5. Connect & Collaborate

Use the new AR feature to help students connect and collaborate with others around the world. Imagine creating a character, animal or vehicle and being able to see what it looks like when placed in other students’ communities. A great way to help develop intercultural understandings.

 
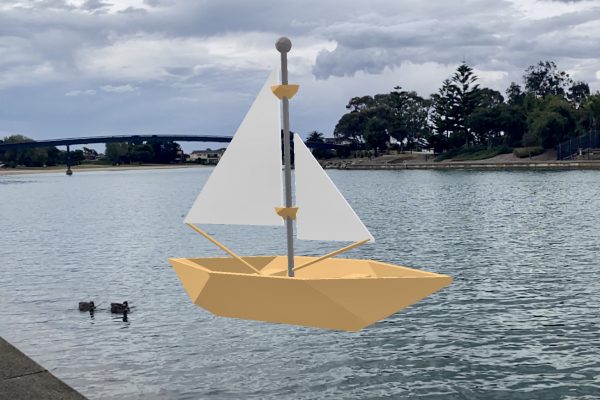
Makers Empire 3D App: AR | Boat

6. Present Ideas

Students can use the AR feature to present their design ideas to a range of audiences. They might be pitching a product idea and use the feature to demonstrate how their product might work or look in context.

 
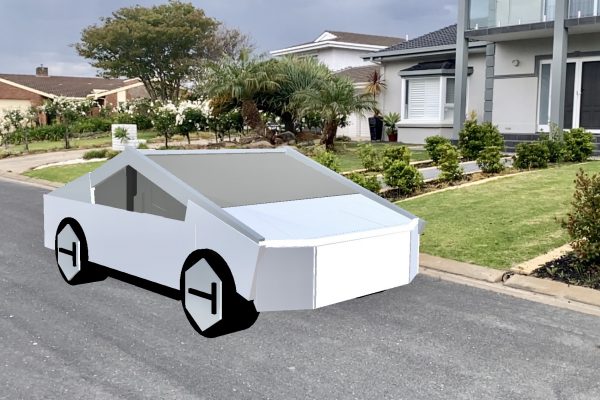
Makers Empire 3D App: AR | Telsa Car

7. Spatial Reasoning

The AR feature can really help with mathematical concepts and spatial reasoning skills. Students can test out the scale and size of their designs in real-time. It is often difficult to visualise how big a design really is in comparison to other objects, and we think this will help students connect this abstract concept to a concrete visualisation


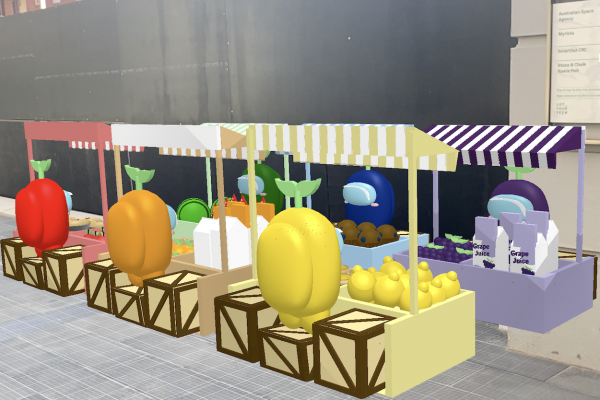
Makers Empire 3D App: AR | Market

8. Plan School Events

Planning school events and presentations such as markets, fairs assemblies and graduation ceremonies can be a much more interactive experience if students can test out their ideas for displays, decorations, and layouts using augmented reality versions of their designs in actual venues.


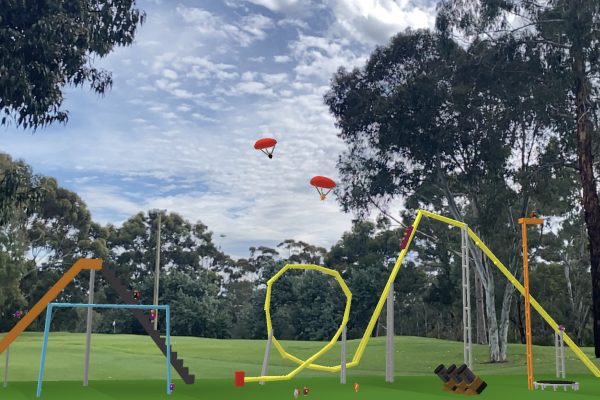
Makers Empire 3D App: AR | Roller Coaster

9. Geographical Concepts

Teachers might use the AR functionality to help students develop geographical concepts such as place, space, and environment. This provides an ideal way for students to represent and respond to the built and natural environment. Students can explore the ways human interaction shapes and impacts places by visualising how their designed solutions and models affect places in their school and wider communities.


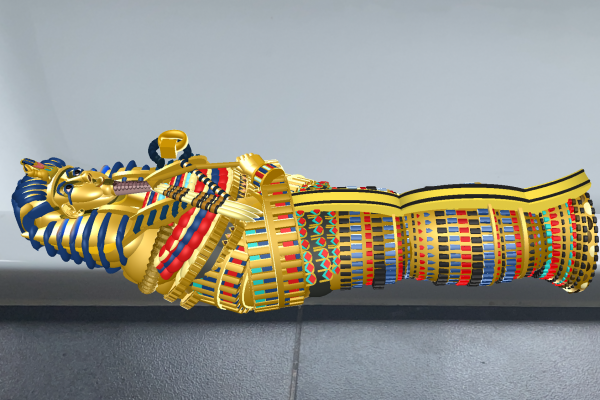
Makers Empire 3D App: AR | Mummy

10. Historical Concepts

Why not have students explore historical concepts such as continuity and change, and cause and effect by designing objects, buildings, people from the past and using the AR feature to help imagine what places may have looked like in the past from different perspectives.


How to Use AR in Makers Empire 3D App

Detailed Instructions

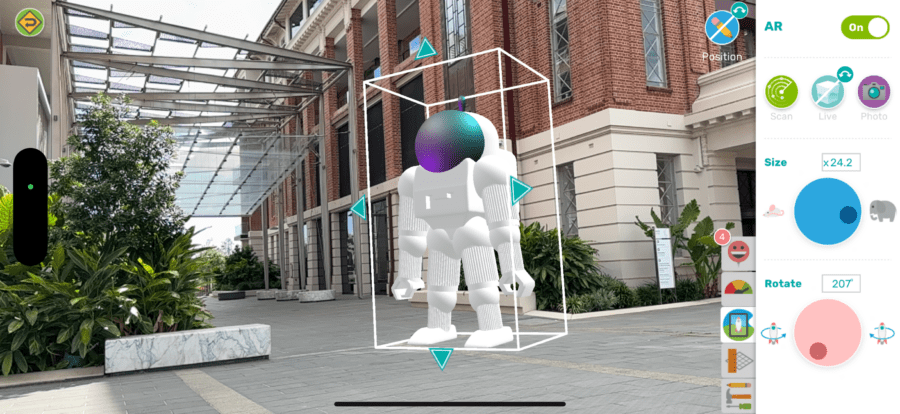
  • Read our AR help article for an explanation of AR and more advanced instructions. 
Basic Instructions
  1. Open an existing design in My Designs, or click Create > Shaper to make a new design.
  2. Select the AR tab on the right.
  3. Set the switch to ON (top right).
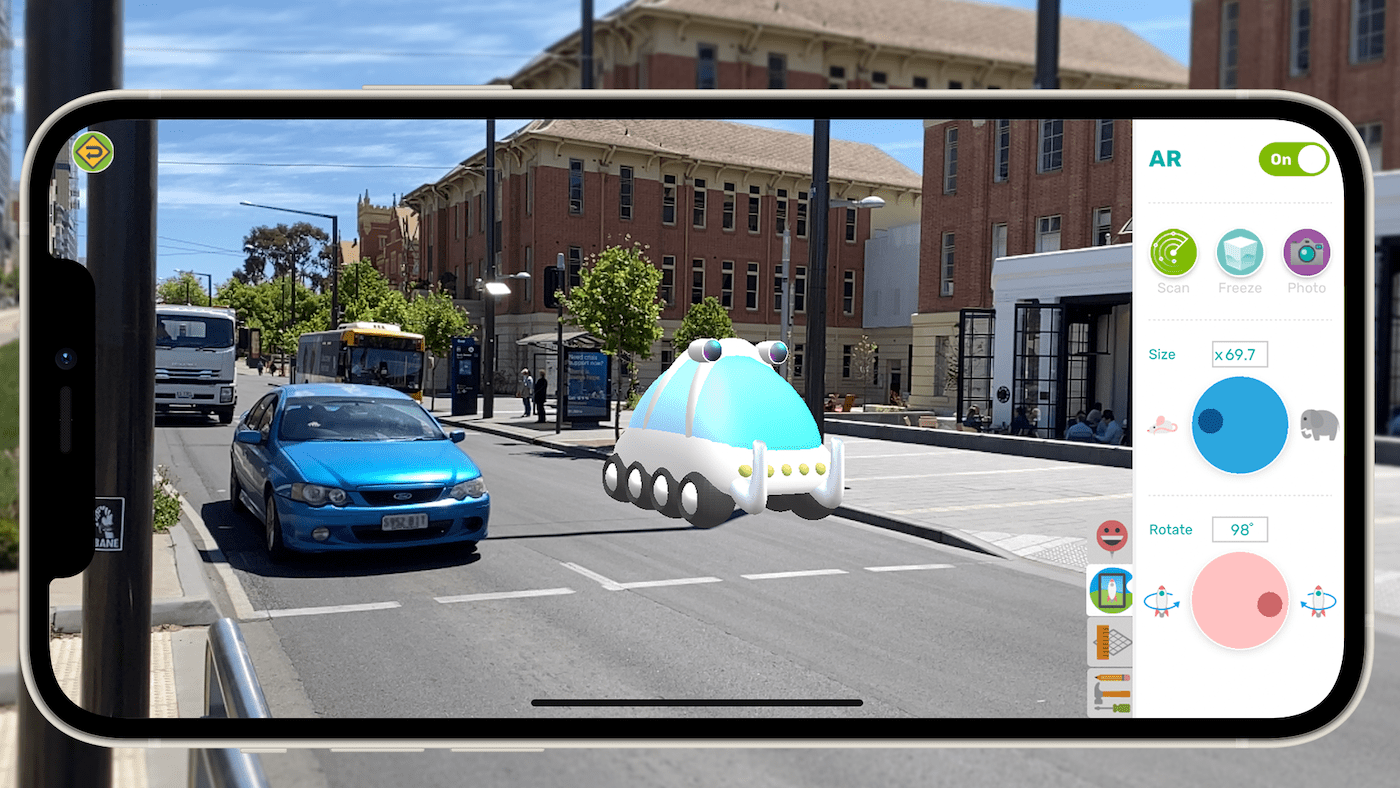
  4. Point your device at a flat surface* and move it around slowly.
  5. Once a surface is detected, a grid will appear. Click/tap on the grid to position your design.
  6. Use the Size and Rotate dials to adjust the size and angle of your design.
  7. Press the Scan button if you want to put your design on a different surface.
  8. Press the Freeze button to pause the live camera feed if you want to.
  9. Press the Camera button to take a photo of your AR scene and share or save it. Images can be used in presentations, newsletters and socmedia posts.

Feedback from a Teacher

"This AR feature is wonderful. You guys never stop bringing new content in to keep kids engaged and keep the software fresh and I have to say I was hoping this feature would become available. It brings their models to life and AR is making its way into design and engineering in a big way so it is great for kids to use this tech in school. My students also realised new designs that could utilise the AR feature better like designing space ship cockpit that you could pretend to be in or even the interior of a house."

Jay Wright
STEM Teacher, Vale View State School