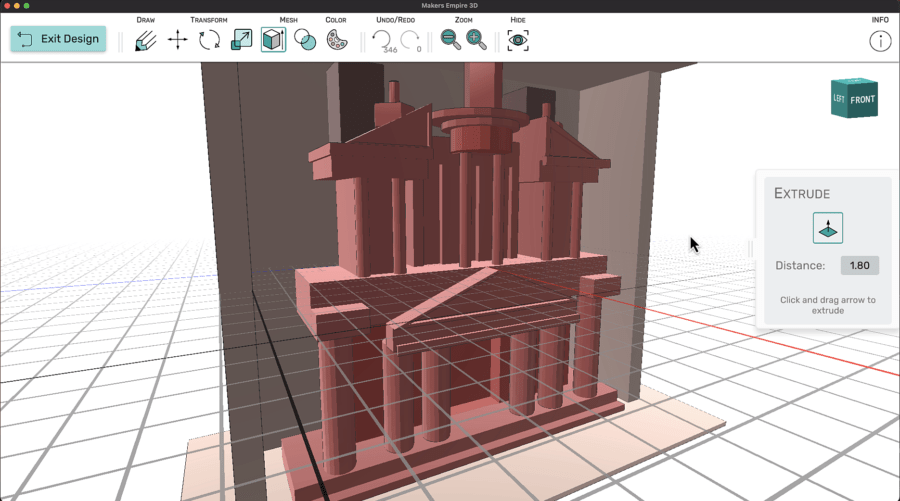
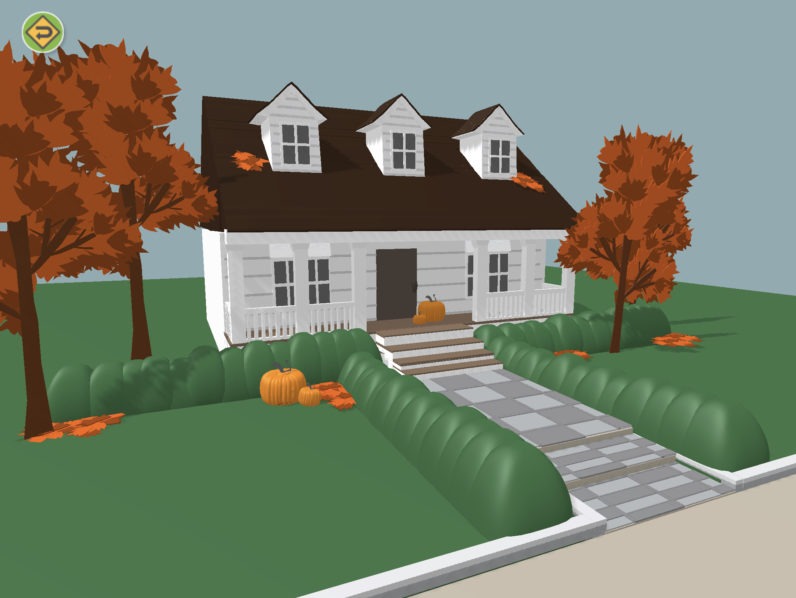
Makers Empire’s 3D design software has been specifically designed to be easy to use and to enable students of all ages to be designing in minutes.
We are often asked for ideas to help our youngest students become confident and independent 3D designers.
Here are our favourite activities to help young children get started and we would love to hear from you too. What have you found works well with 4 and 5 year olds?
1. Shape Match
Ask students to select a 3D shape block from a lucky dip bag. Now ask them to open the Shaper Module. Can they find and select the shape that is the same as the one they selected? Can they change the colour to match the shape block? We have seen lots of great examples of teachers using the Shaper Module to help students explore, manipulate and name 3D shapes. Used together with concrete mathematics manipulatives, the 3D environment provides a great place for students to investigate and experiment with a range of mathematical concepts.
2. Simon Says
Ask all students to open the Shaper Module and play the game Simon Says. You might want to project your own device on a screen so you can model the instructions. eg. Simon says ‘click on a cube’, Simon says ‘change it to your favourite colour’. This is a good activity to use when students are using the design software for the very first time as you can model and introduce some of the main features of the module.
3. Super Size Me
Students open the Shaper Module and select a given shape. Starting with the same basic shape, students are challenged to make the shape as tall, wide, skinny, small etc. as they can. Students could give each other instructions to practice spatial terms and concepts.
4. Strike a Pose
Students work in small groups using the Character Module. They take it in turns to pose the character in an interesting way. The other students try to copy the pose with their own bodies. This can be a great way for students to explore their own bodies in space and to make connections between their own 3D world and what they are seeing and manipulating on the screen.
5. Crazy Caterpillars
Ask students to open the Shaper Module and select the sphere. Show them the ‘clone’ button and challenge them to make the craziest caterpillar they can using as many spheres as they can. Check out Makers Empire’s Very Hungry Caterpillar lesson plan for ideas on taking this further.
6. Hide and Seek
Ask students to open the Shaper Module and select a star shape. They now need to hide the star by covering it with other shapes. Encourage them to turn the design plate around to make sure the star is hidden on every side. Once the star is completely hidden- can they find it again? 10,9,8,7,6,5,4,3,2,1- Coming R=ready or not! Students could swap devices and go seeking for each other’s stars.
7. Copy Cat
Pre -select a design from the gallery. Ask students to open the gallery and find the given design that someone else has made. Show them how to click on ‘make a copy’. Now challenge students to make 3 changes to the design. Will they add a tail, take away an eye or change a colour? Display screen shots of student’s new designs to show how many different designs can be made by making simple changes.
8. Skills Register
Do you have some students who are already confident with the 3D design software and using it independently? Boost their confidence and help other students learn at the same time by setting up a skills register. Invite students to write their name on the list if they think they can help other students. You could have a general ‘Makers Empire support register’ or identify specific skills. Eg. These people know how to delete a shape, These people know how to copy a shape etc.
9. Who am I?
To help students learn what the icons in a module mean and what the different tools do, project your device onto a screen and play a Who am I? game by giving clues. eg. I am a button. I am white. I have a word that starts with ‘c’. You click on me when you want to make a copy of your shape. Students can take it in turns to give and solve clues.
10. Name it
Ask students to open the Shaper Module and click on the button to ‘add text’. They can type their name here and create a 3D version of their name. Who can make their name the fattest, tallest or most colourful? Could students practice writing their spelling, theme or sight words here? We even know a teacher who 3D printed the alphabet letters that his students designed and now uses them as a concrete tool for spelling and writing activities.
Makers Empire’s Lesson Ideas are free, quick and easy ideas to get you started with 3D design and printing. We hope you enjoyed this post.
AUTHOR BIOGRAPHY
 Mandi Dimitriadis, DipT. is an experienced classroom teacher who recognises the power of technology to enhance teaching and improve educational outcomes. Mandi has extensive experience with curriculum development and learning, having previously developed programs for the Australian Government’s Department of Education. She is passionate about Design Thinking and how best to prepare today’s students for the future.


